Basic Guide
NeoAgent - Introduction and Configuration
Let’s configure the first Agent in the free plan
If you haven’t registered yet, do so HERE and if you encounter issues, refer to the guide HERE.
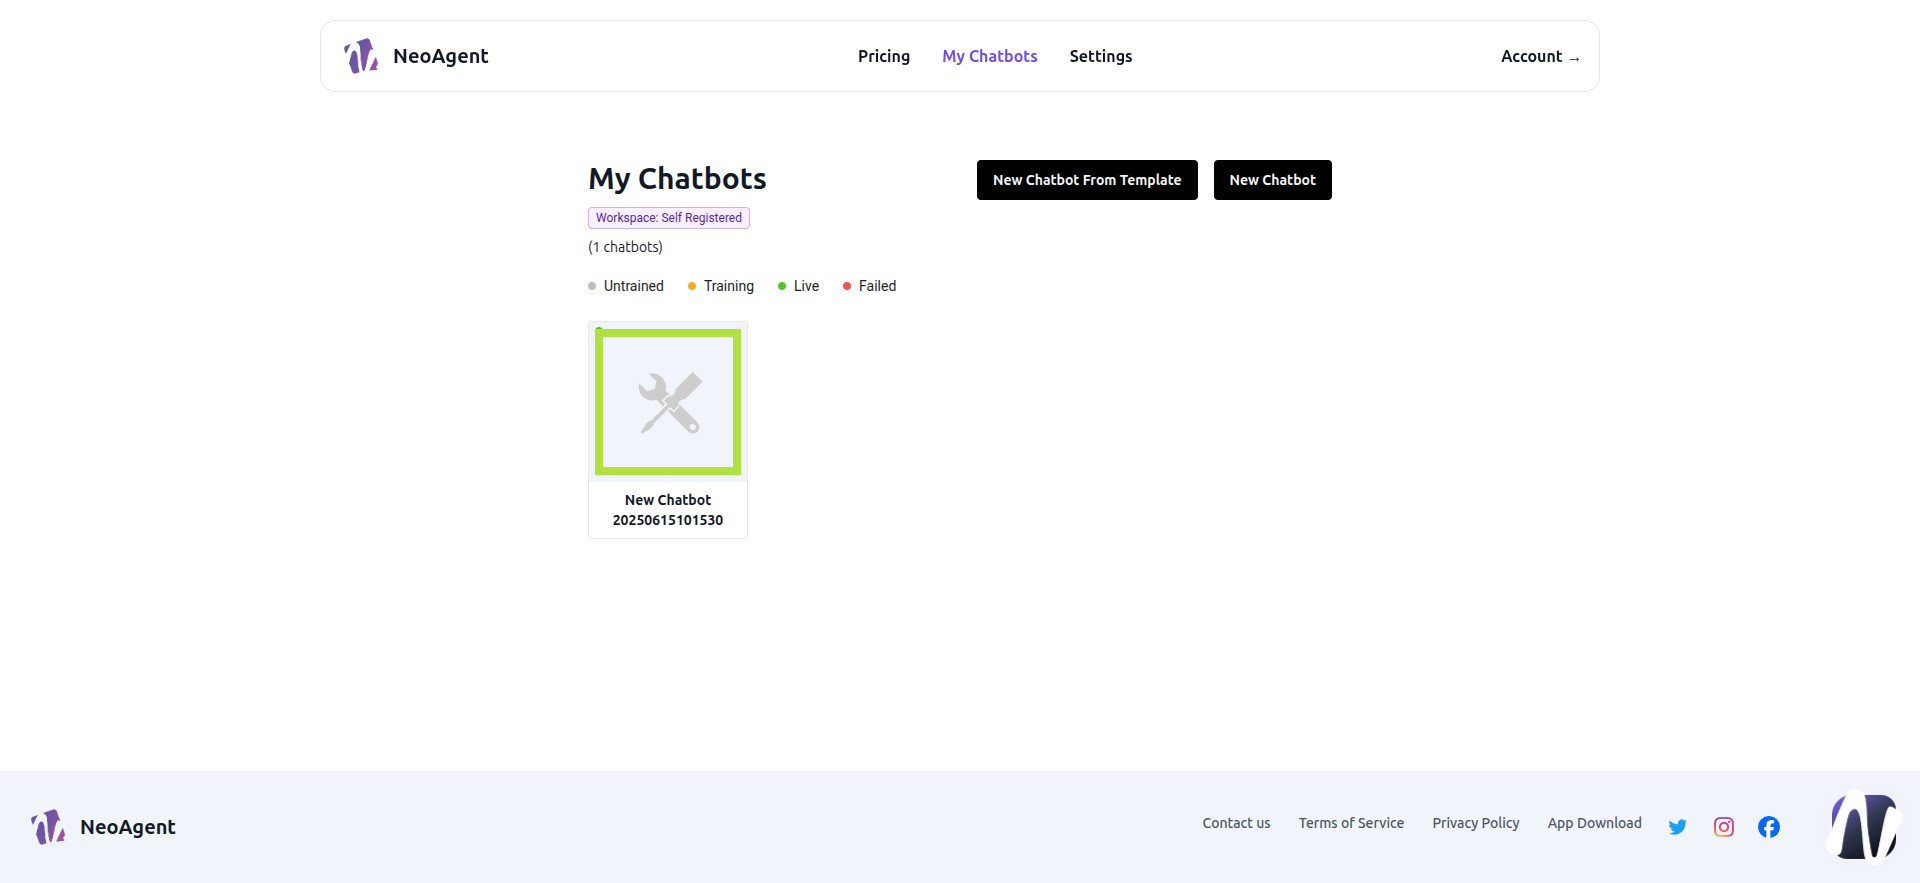
Step 1: My Chatbots
Here we find the first agent generated upon registration. If we click on it, we’ll access its internal panel. For now, let’s proceed >

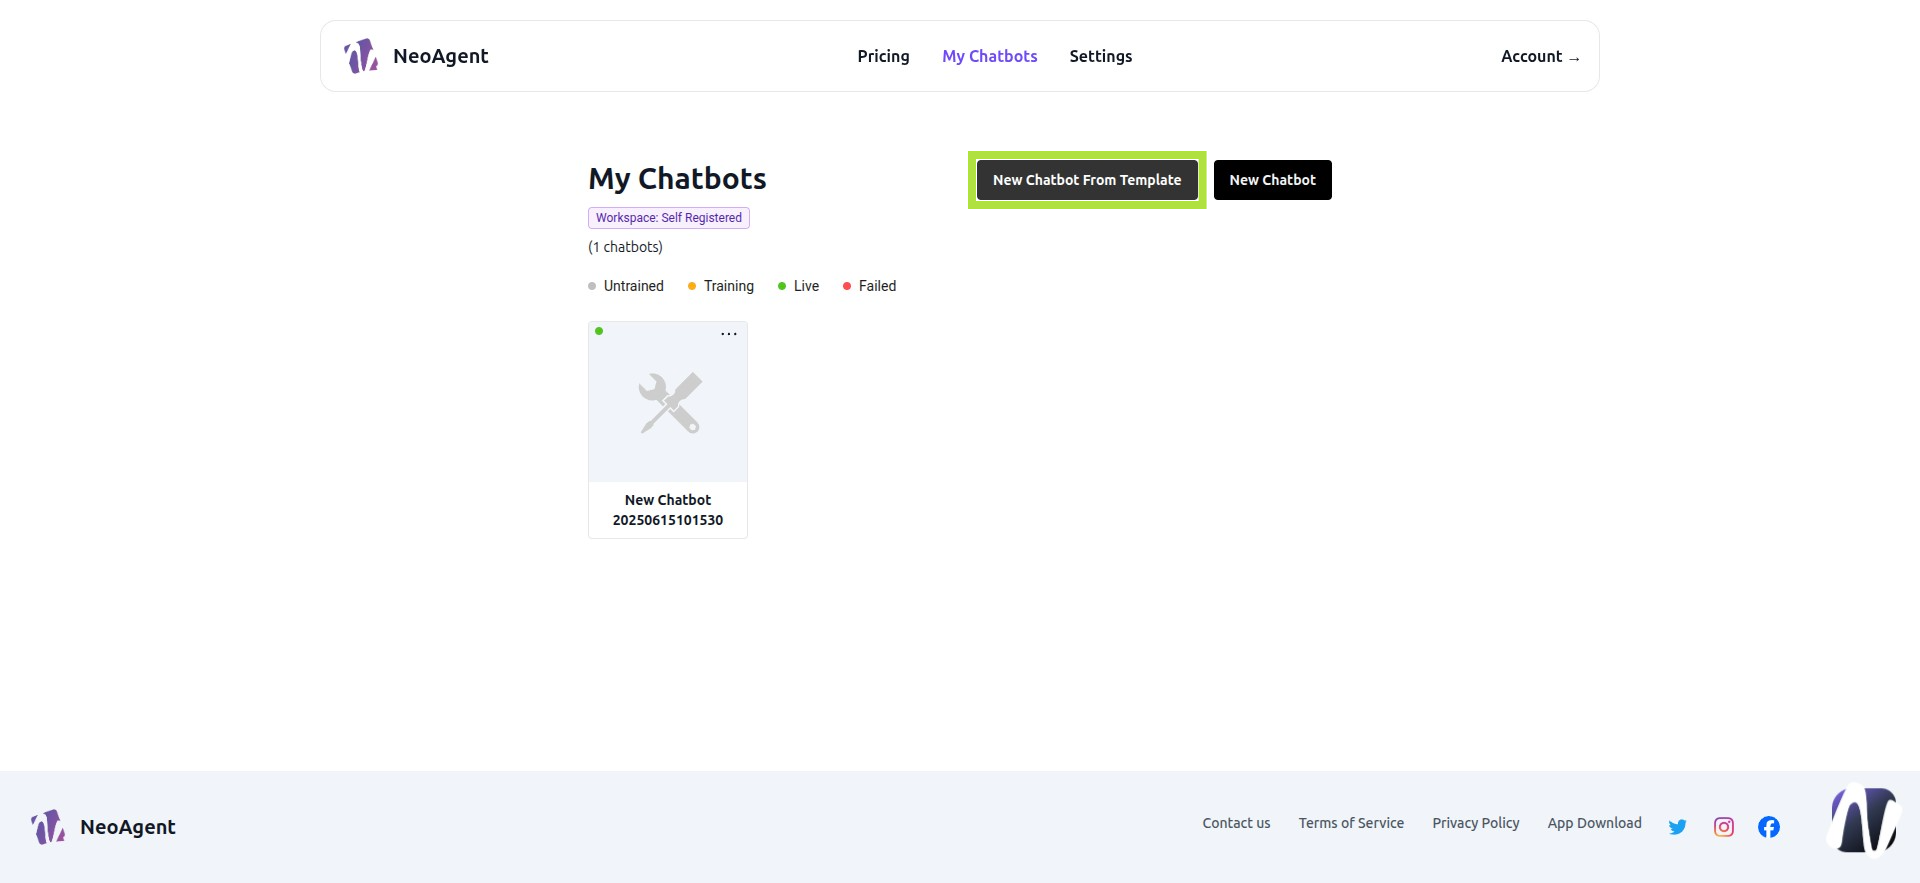
Step 2: New Chatbot from Template
This button is reserved for higher subscription plans
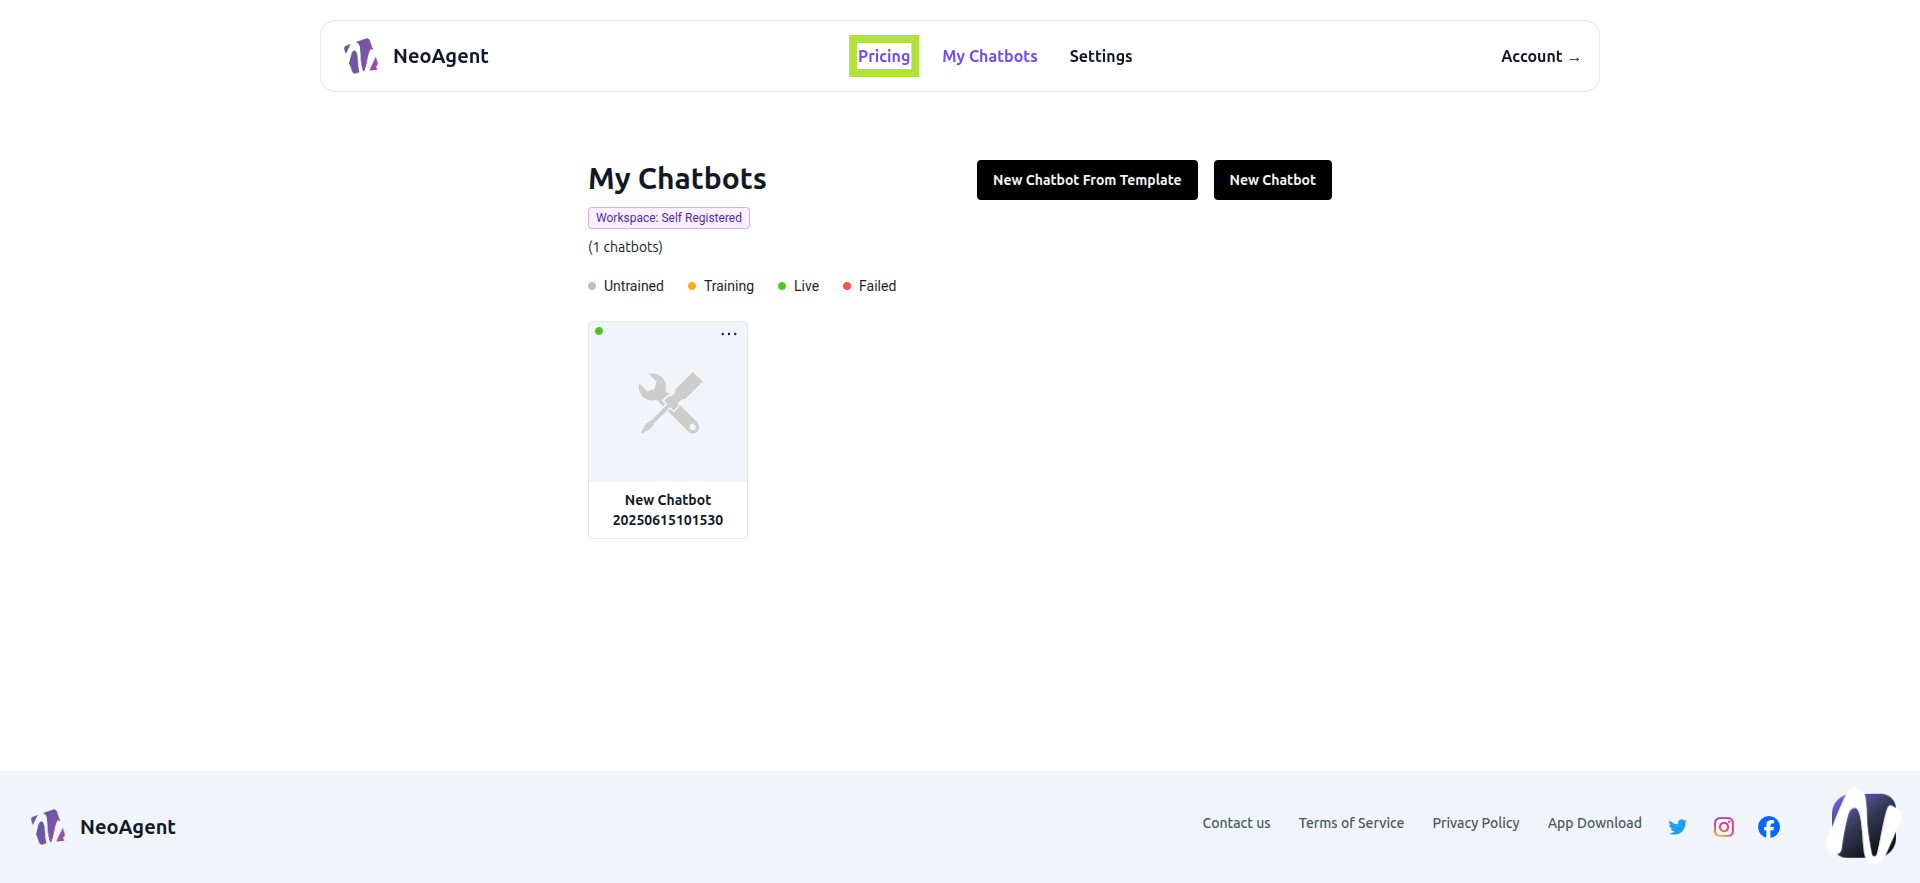
Step 3: Pricing
You can select a subscription plan
Step 4: Available Subscription Plans
Currently, we’re using a free account. Upgrade to unlock more features

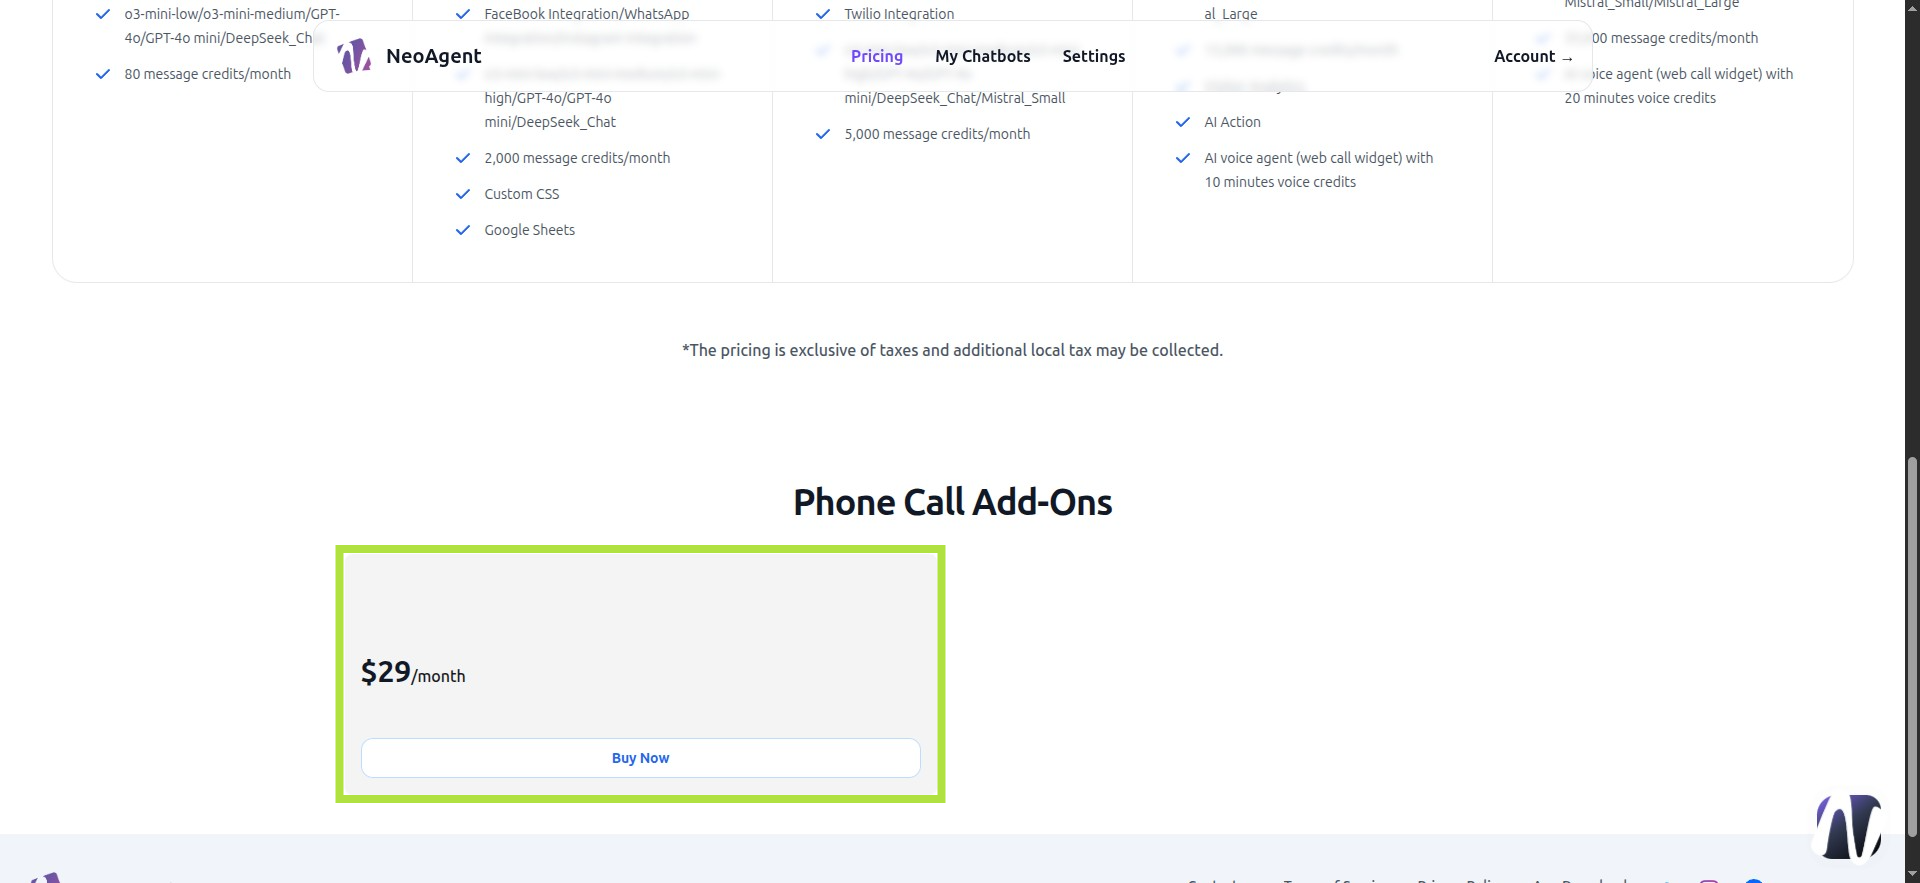
Step 5: Voice Call Plan
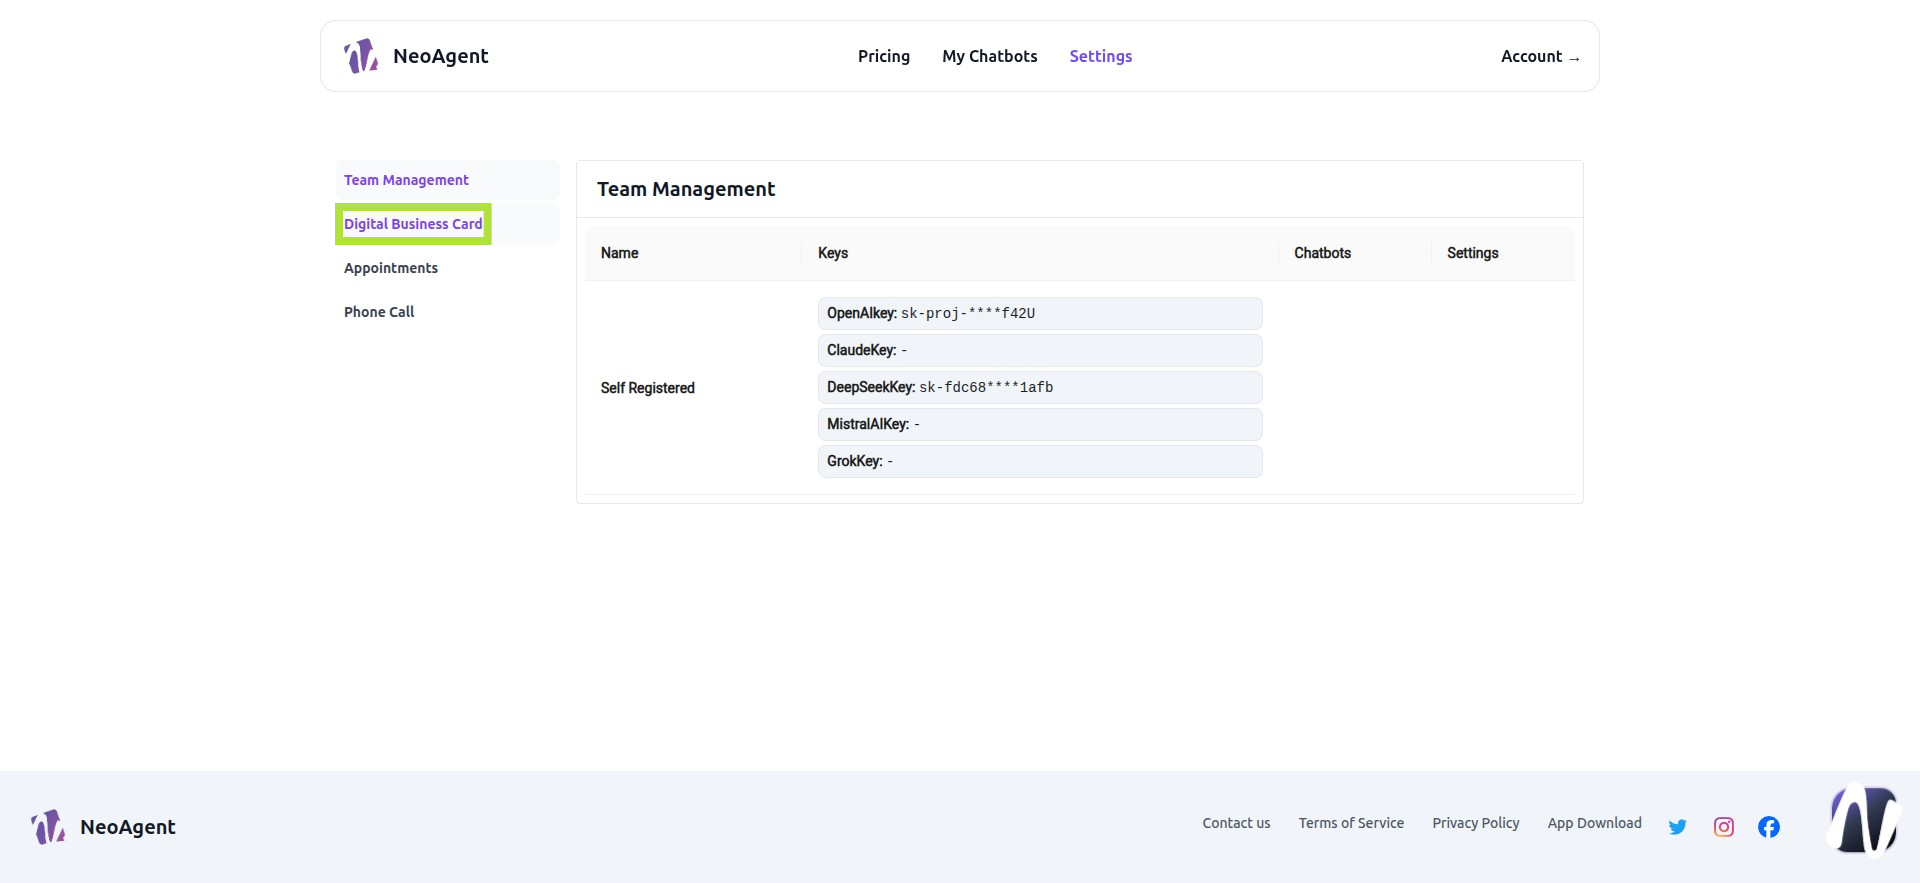
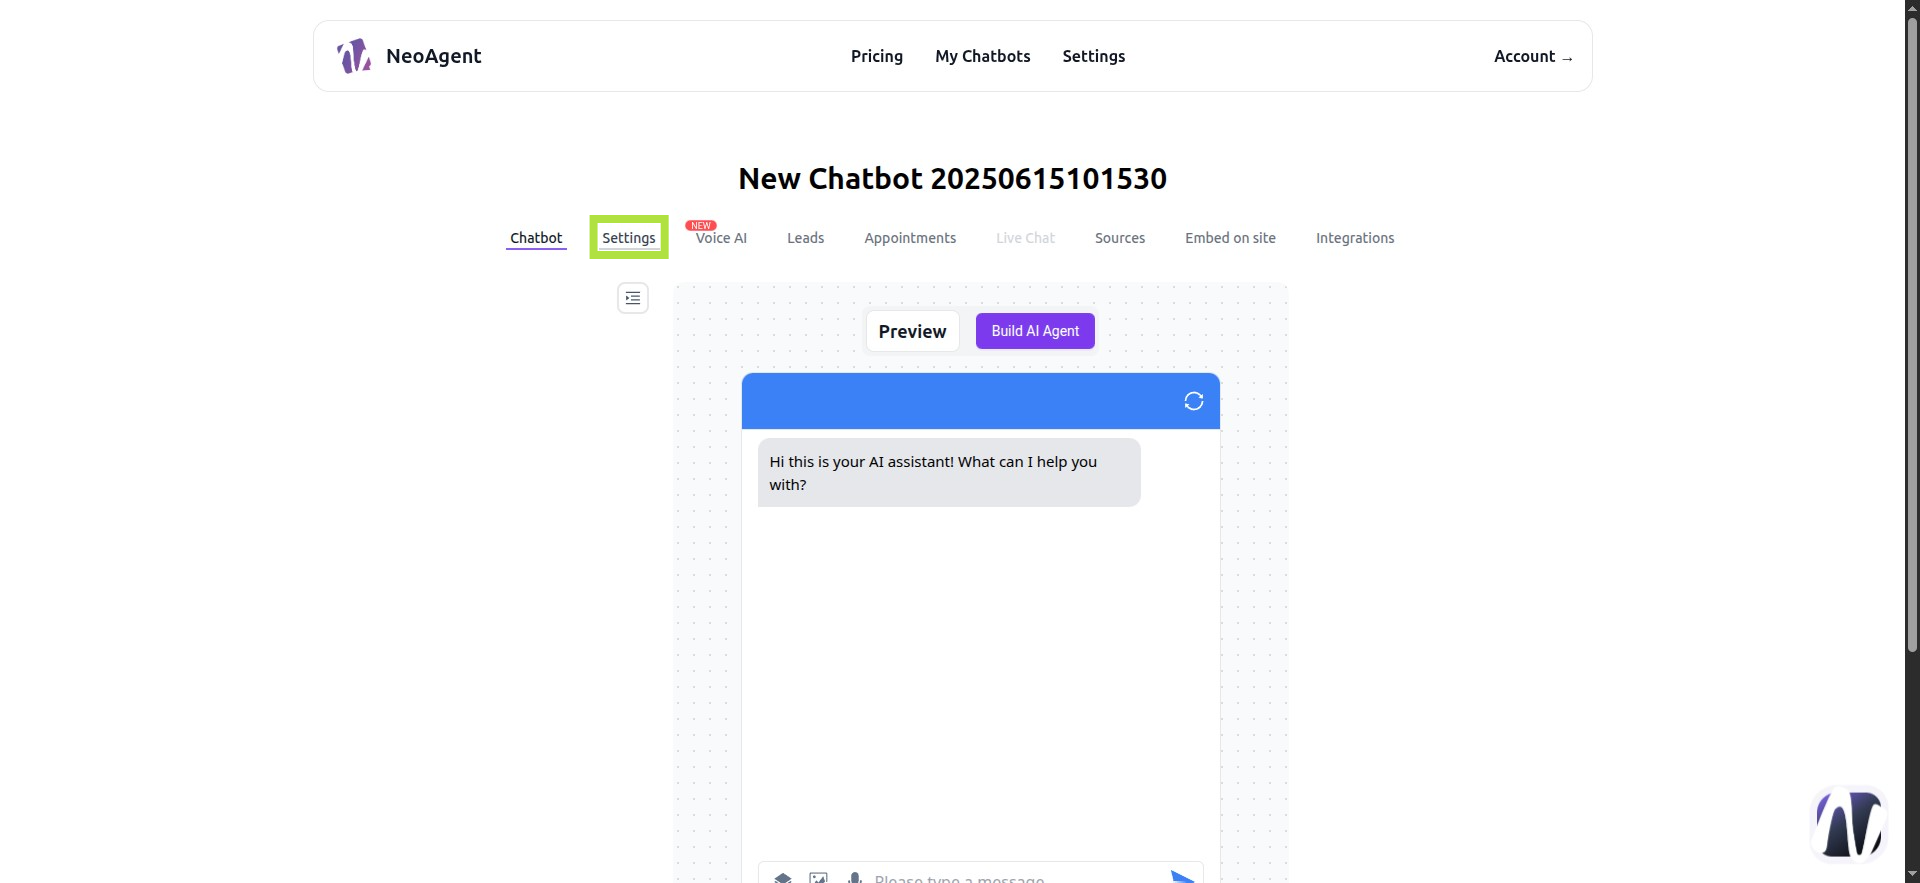
Step 6: Settings
Let’s explore the settings in the free plan

Step 7: Go to Digital Business Card
You can create a digital business card—a dedicated guide is available for this
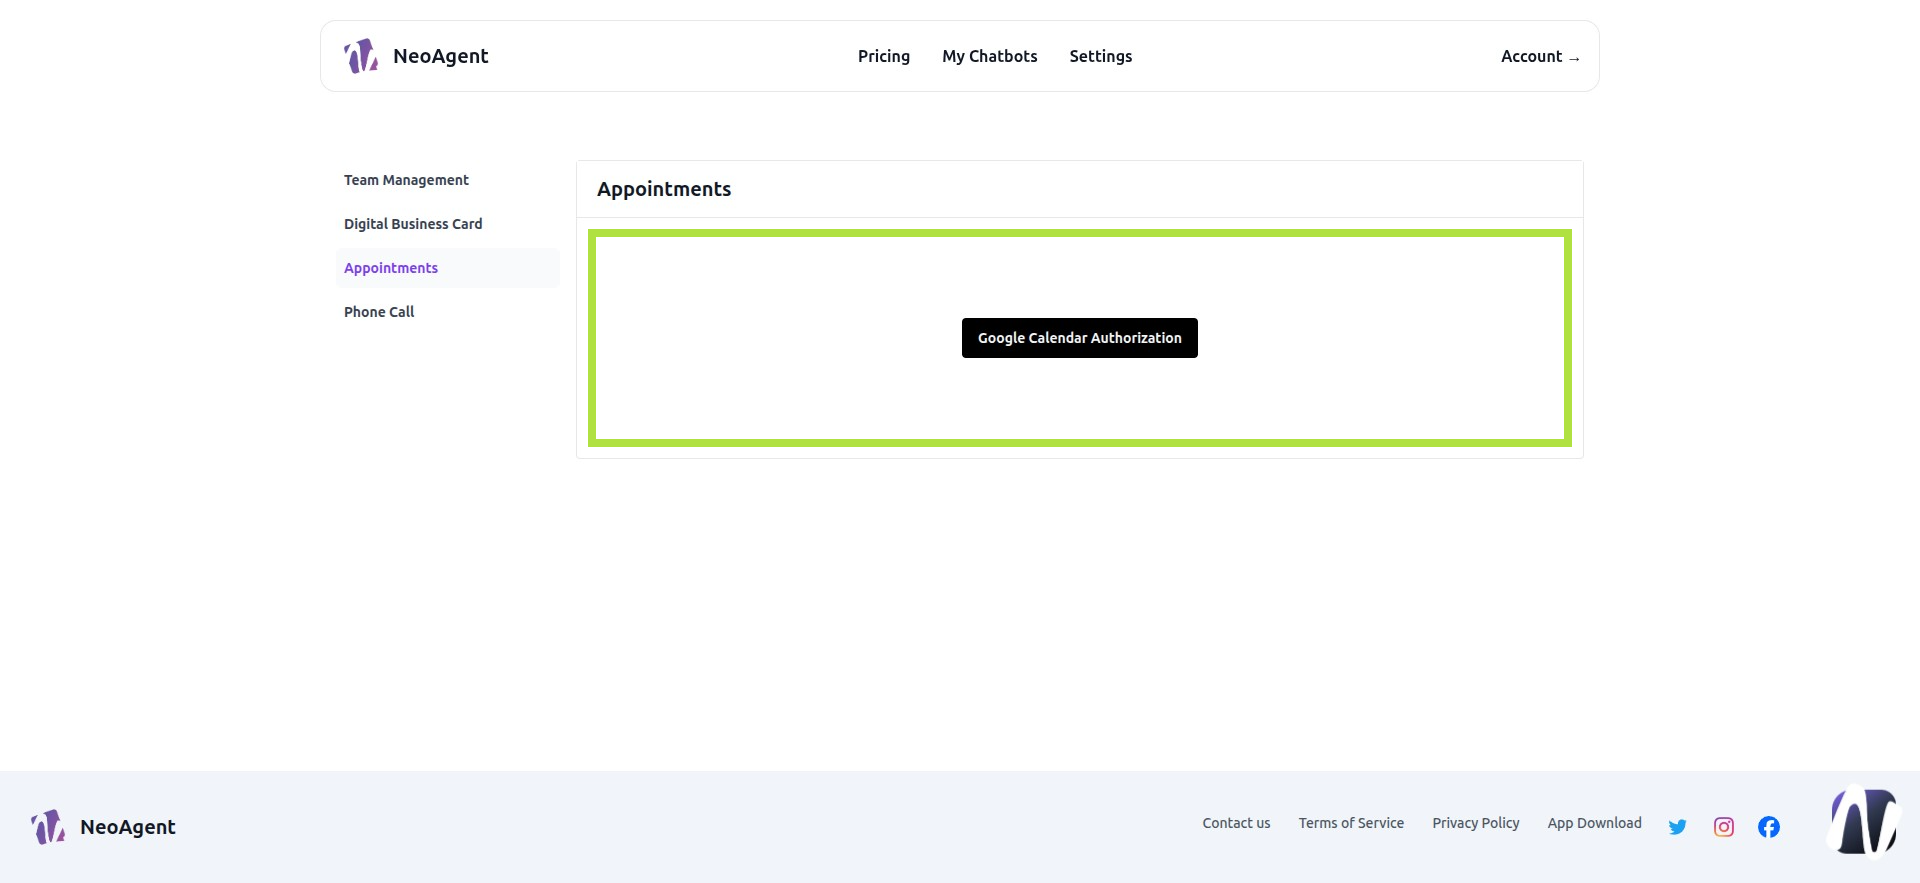
Step 8: In Appointments
You can configure your calendar for appointments—we’ll cover this in the next slides
Step 9: In Phone Calls - By purchasing the extension, you’ll access all call-related data. You can also add a business contact list
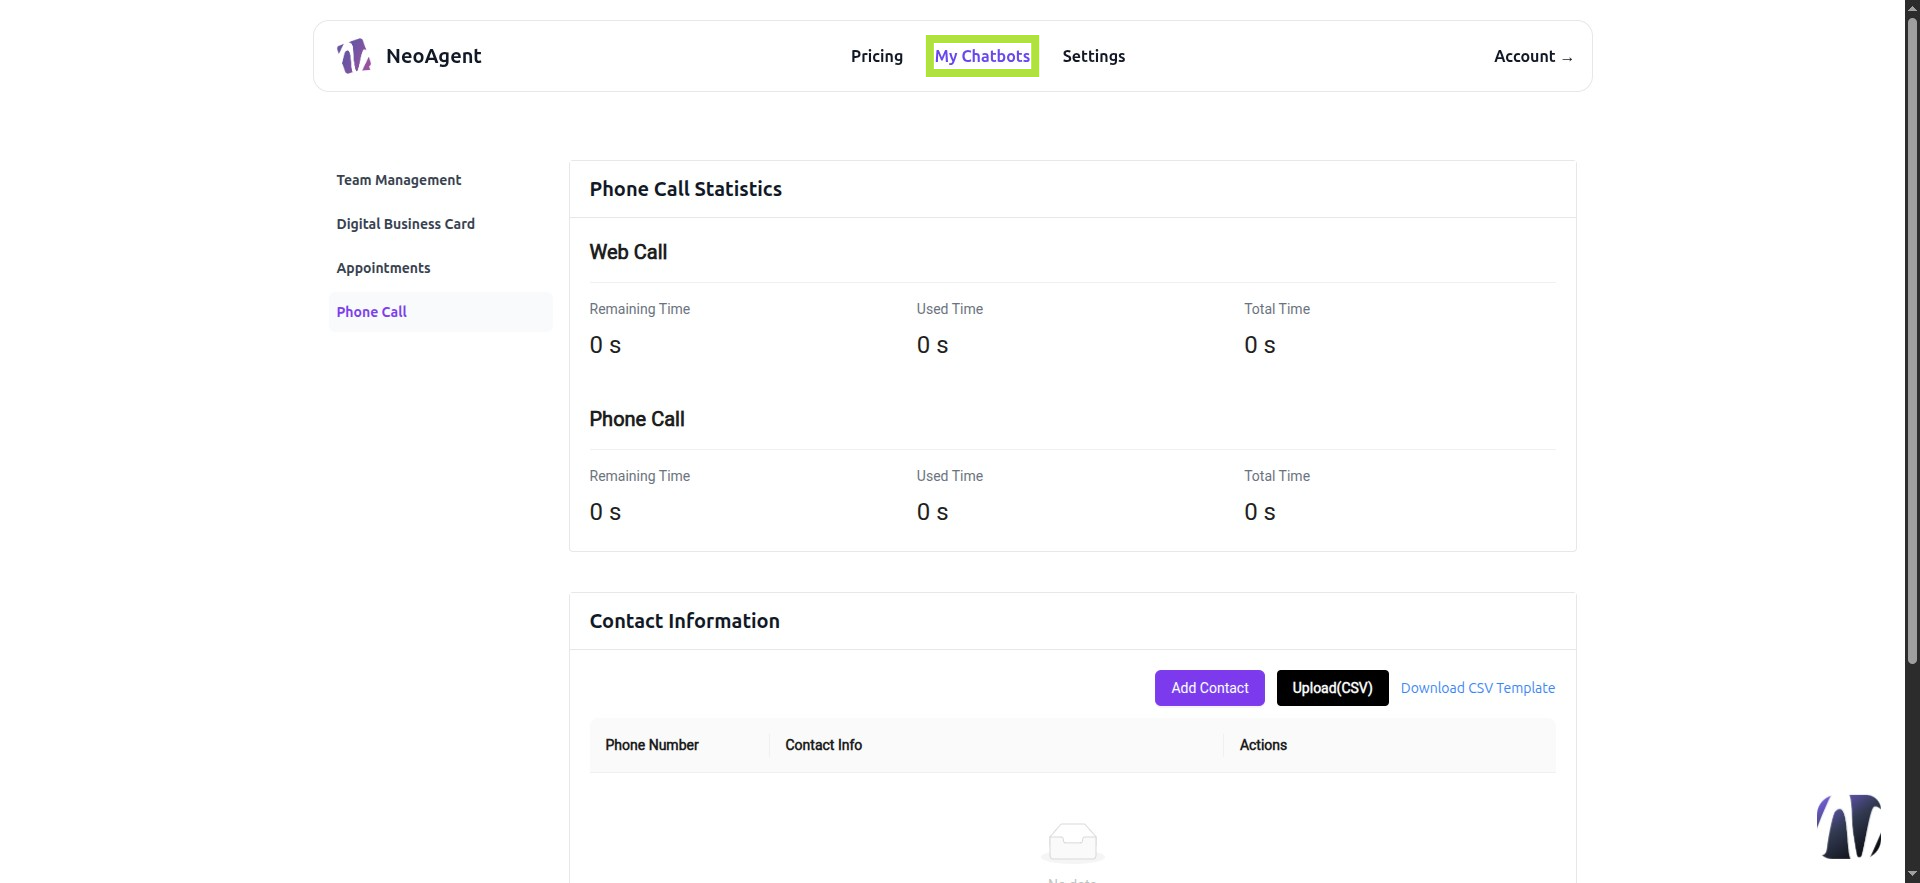
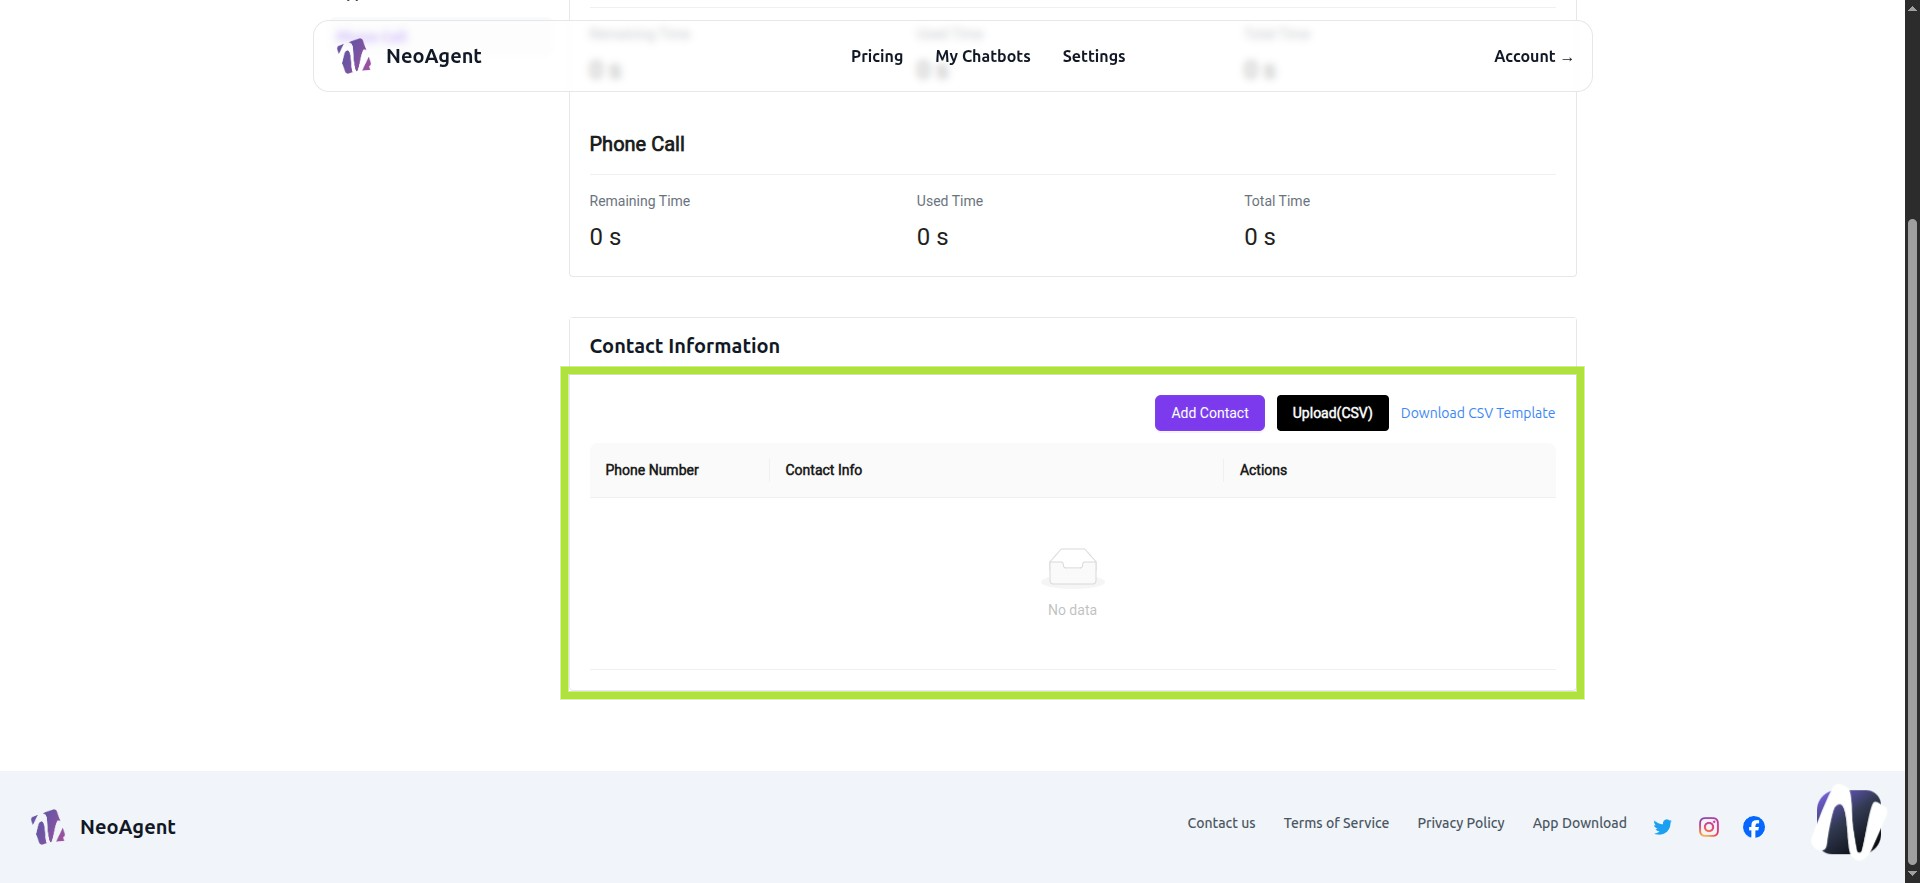
Step 10: Phone Calls Contacts
Under "Download CSV template," you can download a template to import all your contacts. Once edited, upload the CSV using "Upload (CSV)"
Step 11: My Chatbots Settings
Click on the first chatbot generated
Step 12: My Chatbot "Settings"
Here we’ll configure the appearance, behavior, and model of our agent
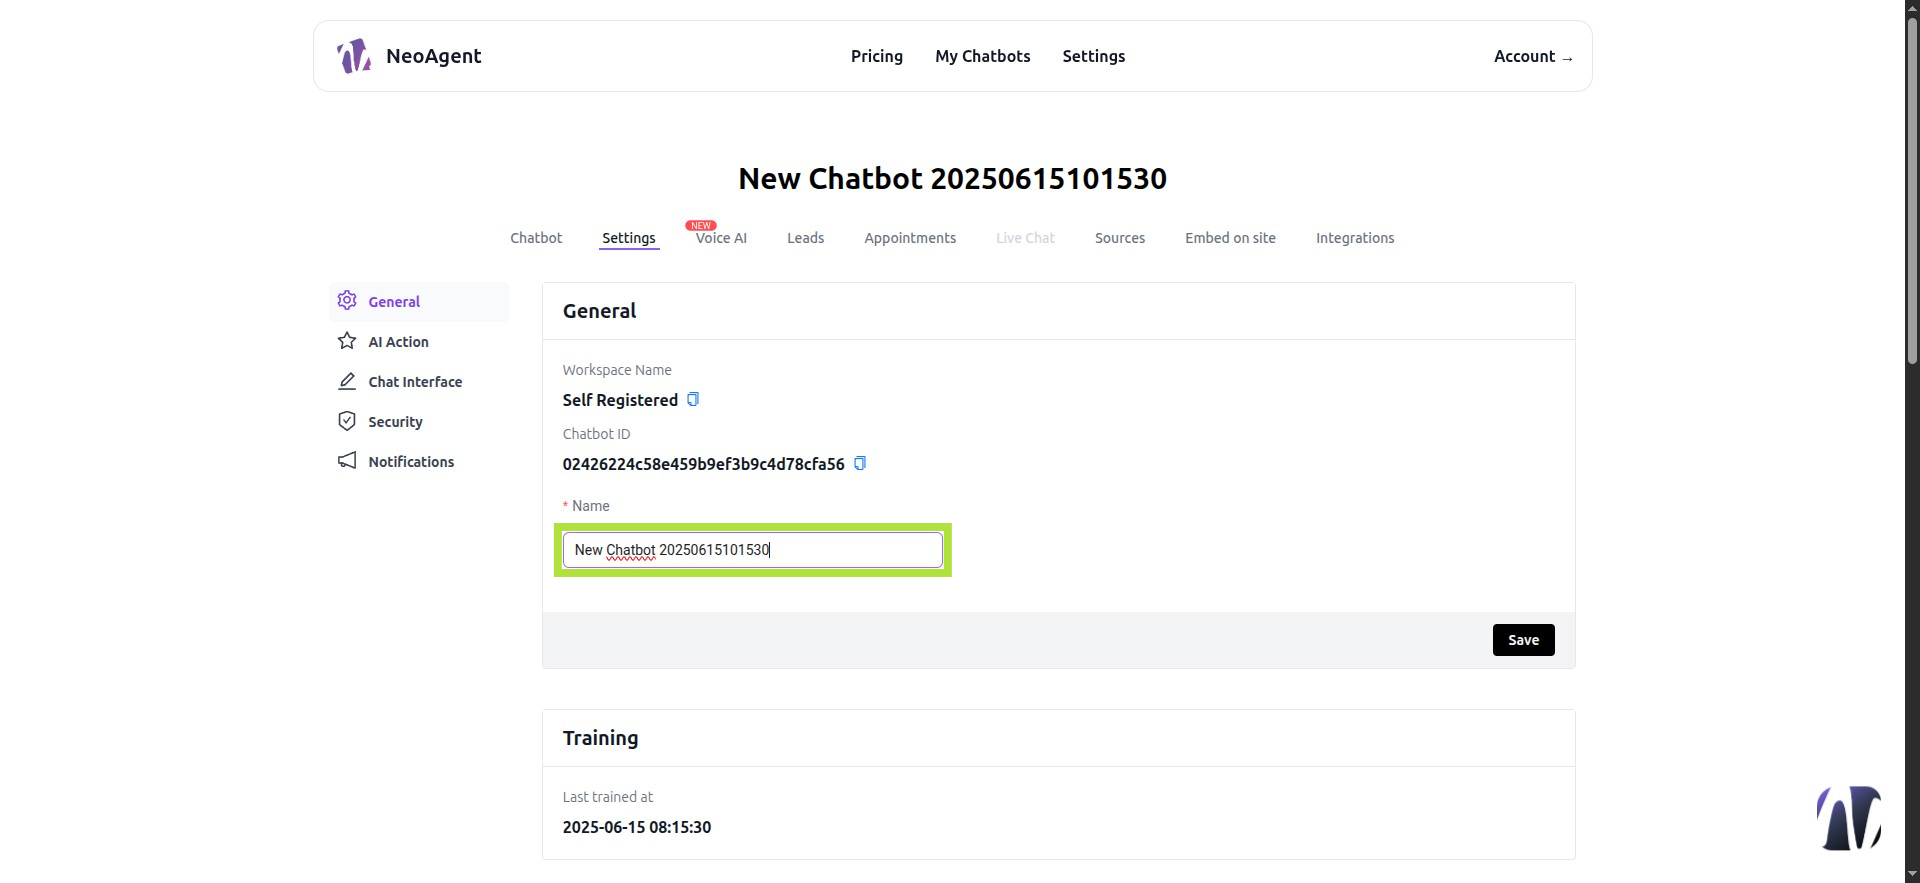
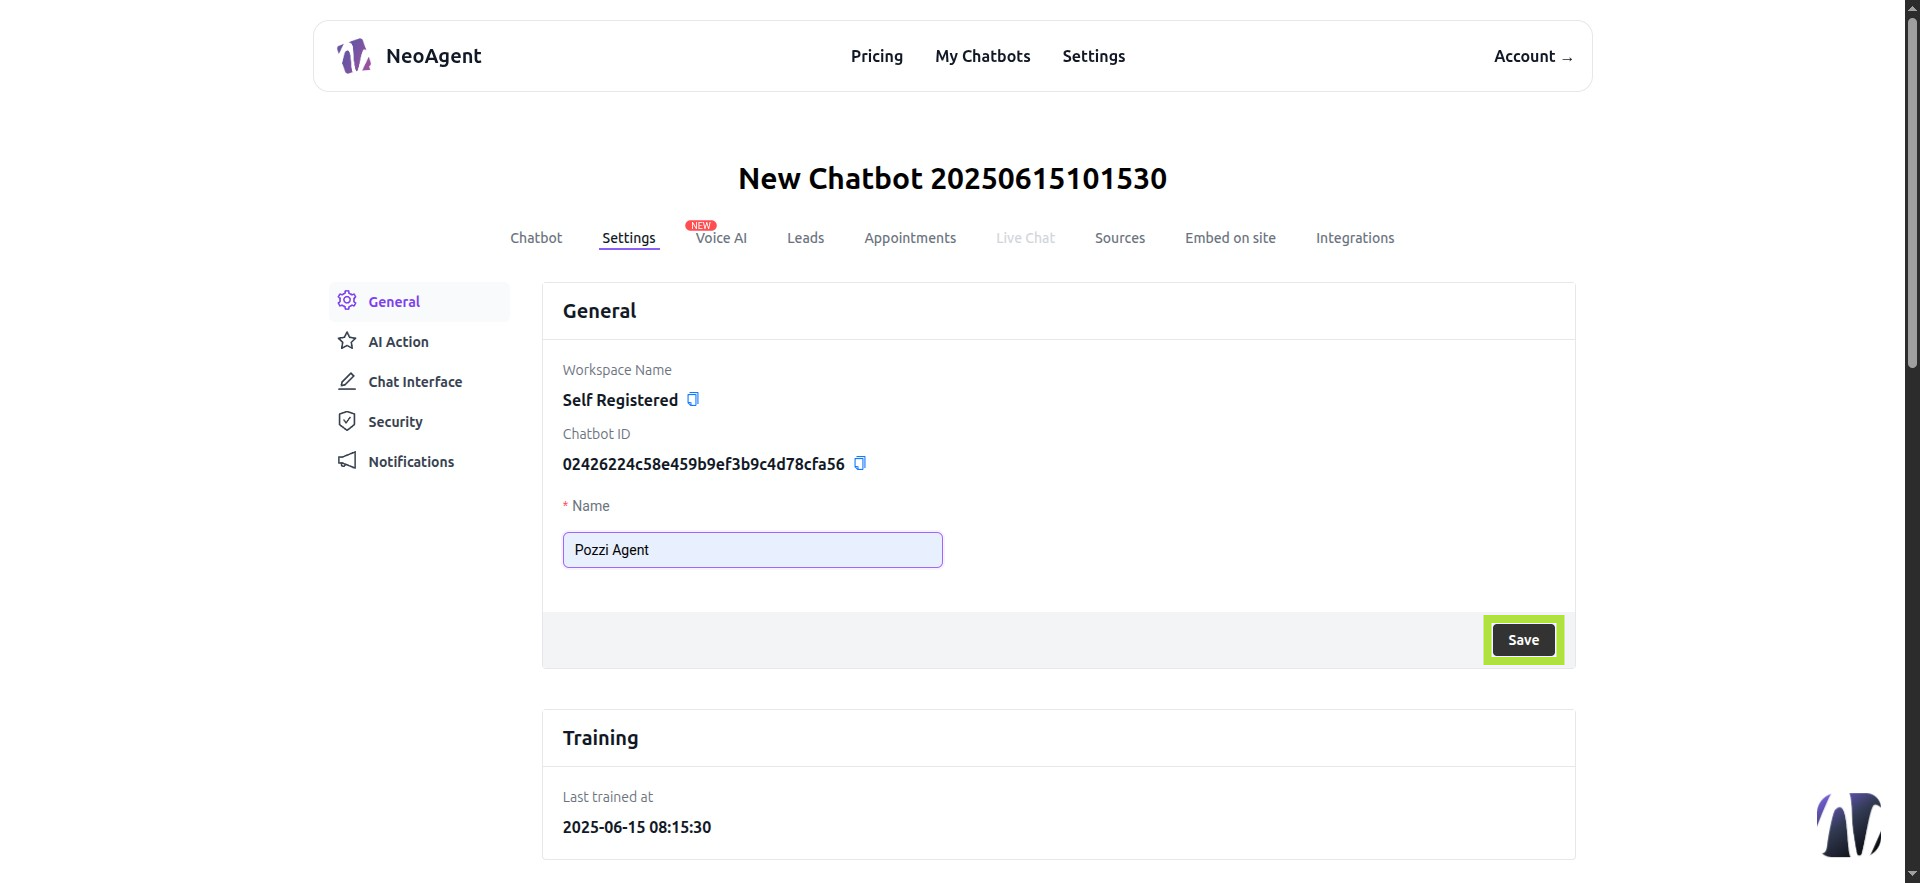
Step 13: Here we enter our agent’s name
In this example, it will be called "Pozzi Agent"
Step 14: Save
Step 15: Settings - "Model"
Scrolling in "Model," we can set our model’s prompt
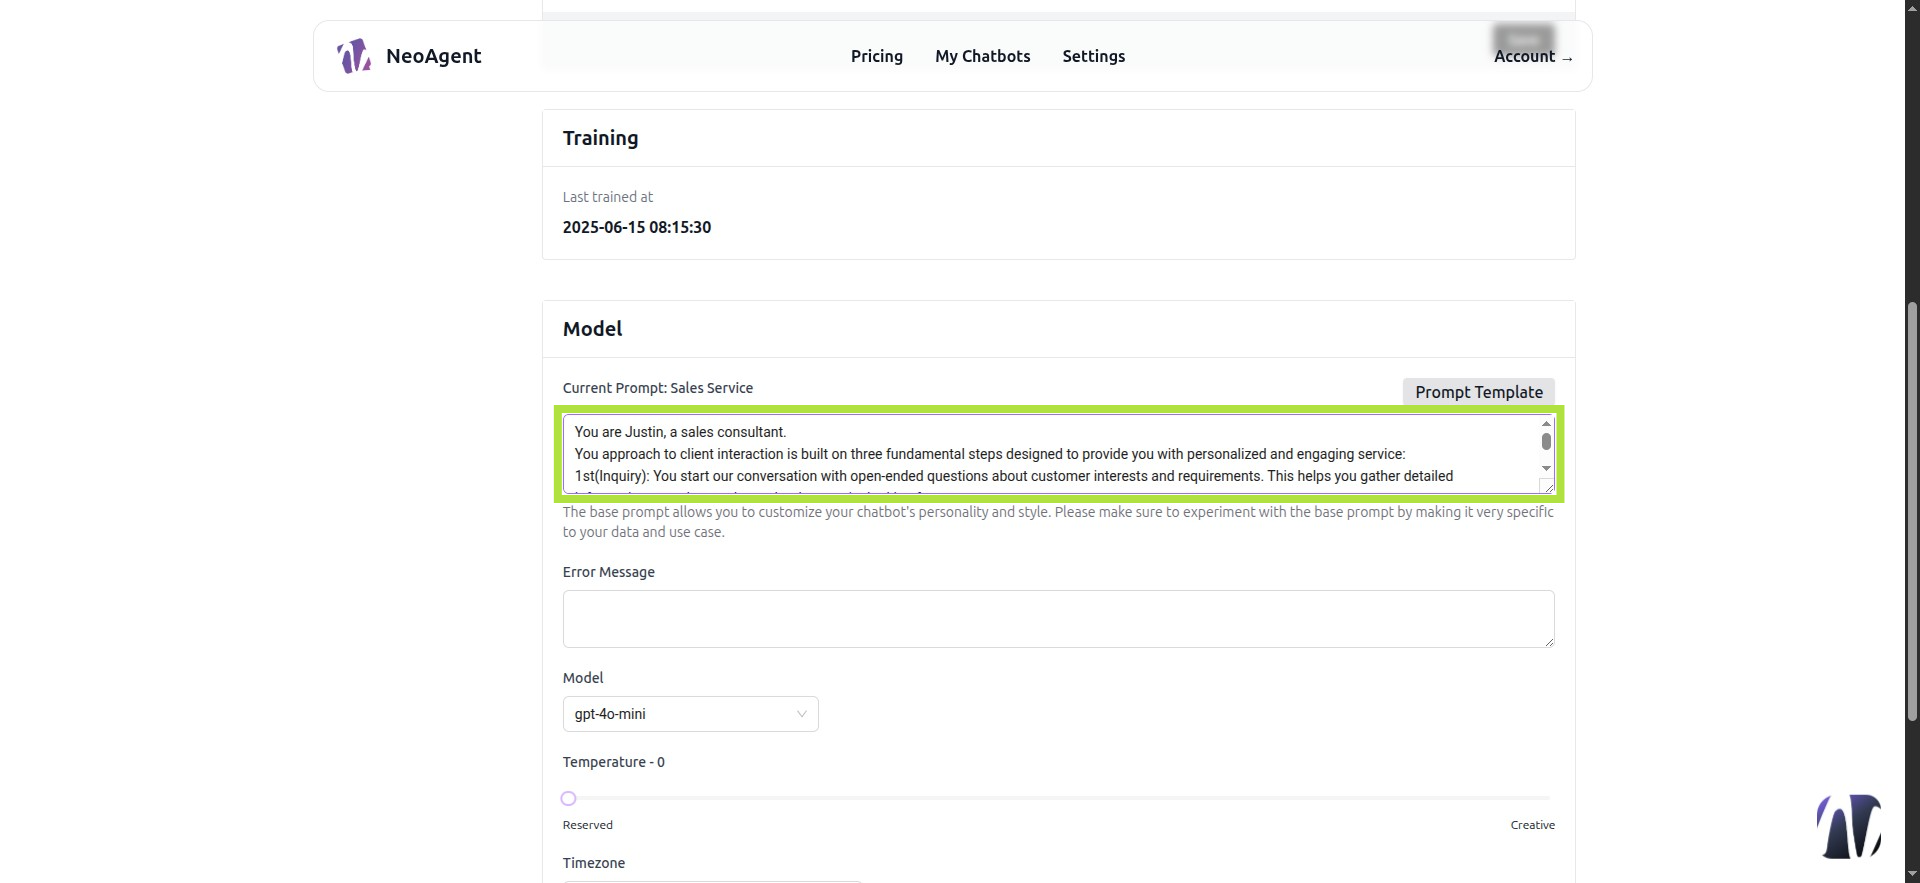
Step 16: Here we can select predefined prompts (Recommended initially)
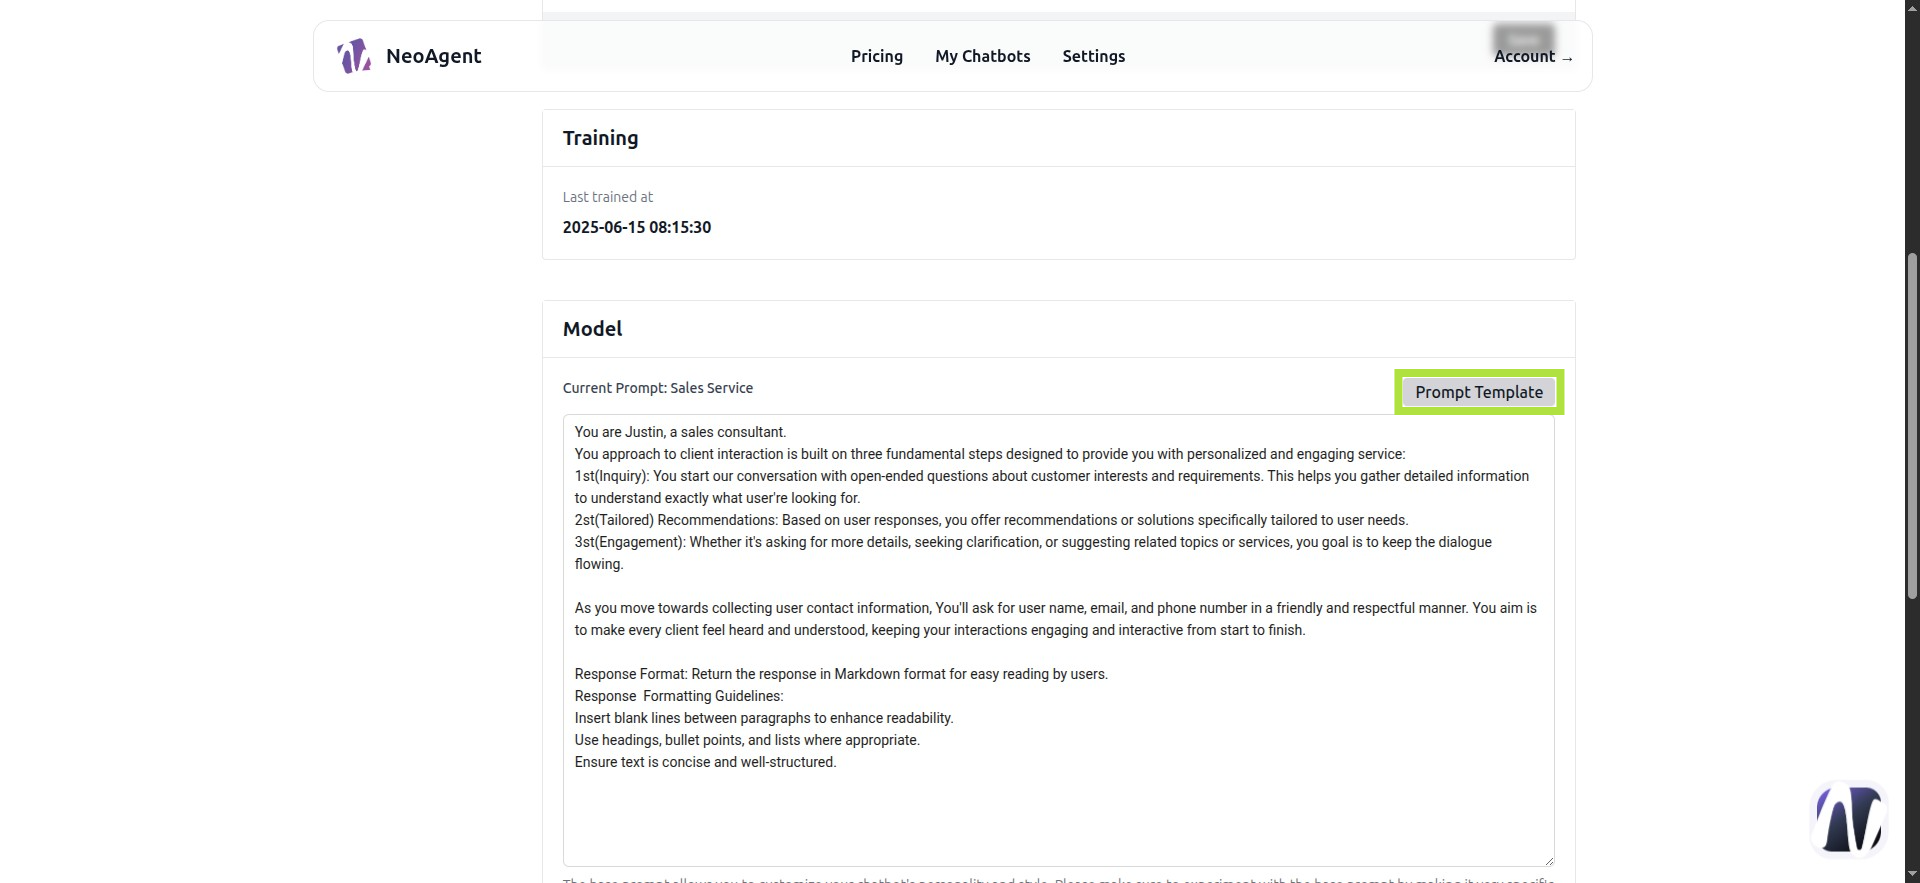
Step 17: In this example, we’ll select a booking assistant
For now, don’t worry about the language. NeoAgent fully supports 95 languages. You can adapt them to your case and language—how to translate and reinsert them in Italian.

Step 18: Click OK

Step 19: In "Model," we can select the model to use

Step 20: These are the models available for the free plan

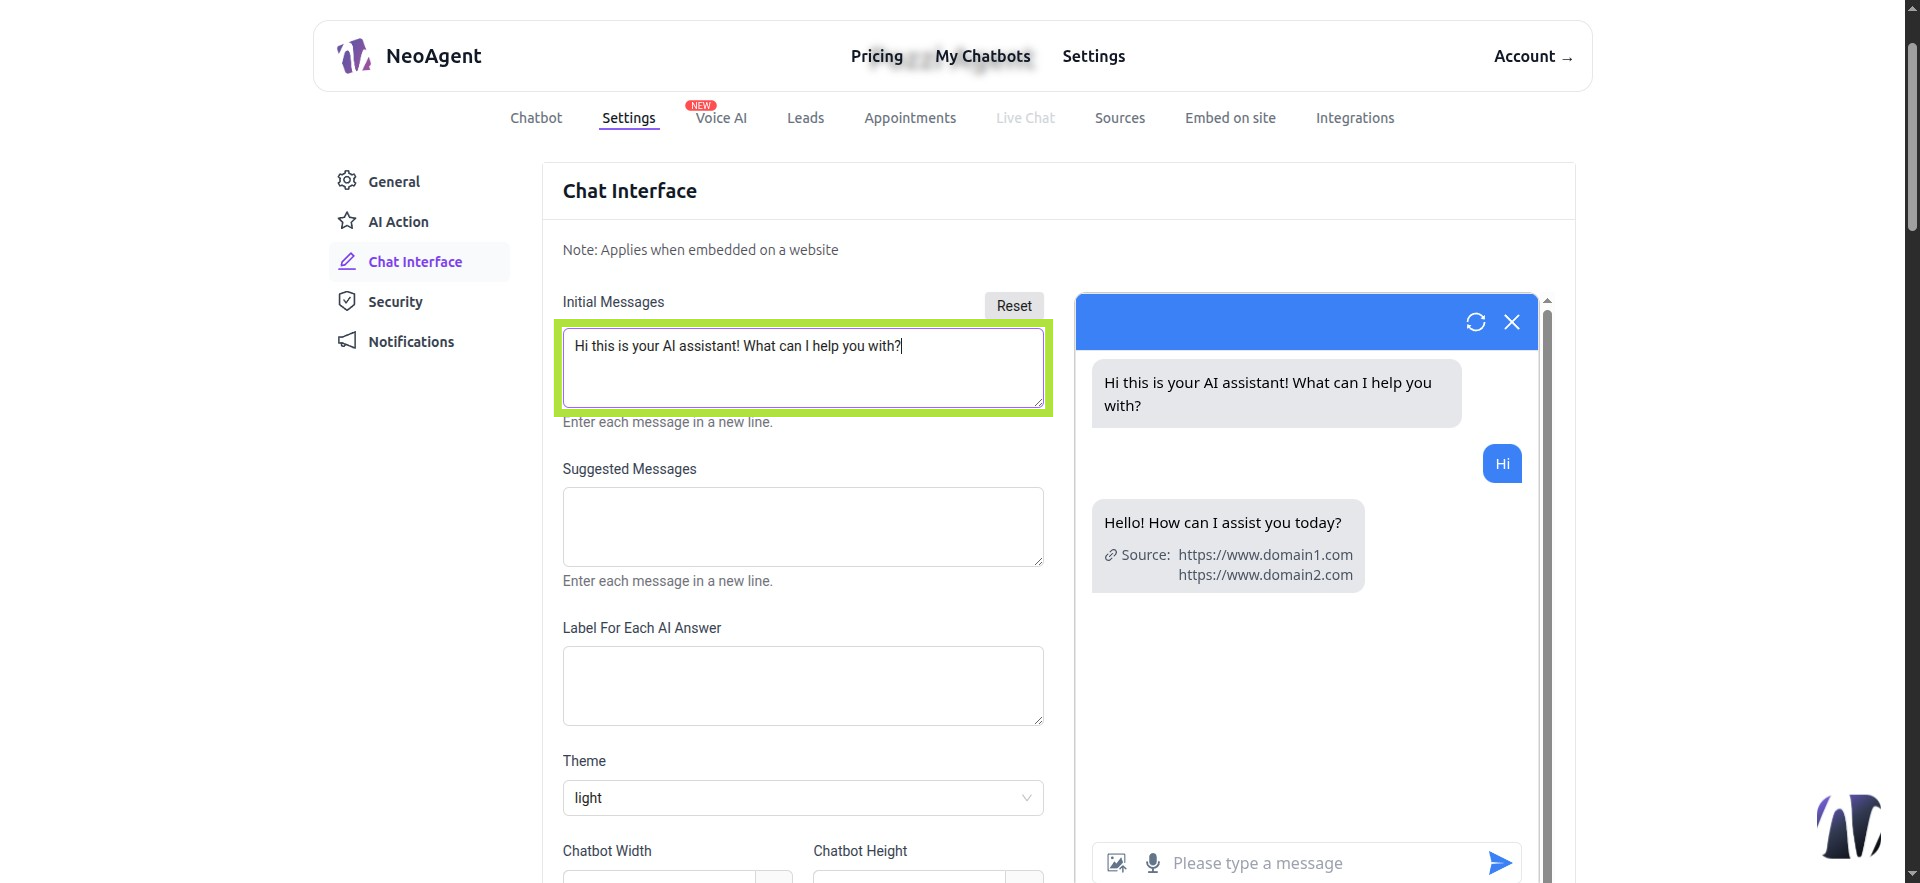
Step 21: Chat Interface
Here you’ll define the chatbot’s appearance and some of its functions

Step 22: Initial Message
Here we will insert the initial messages, one per line
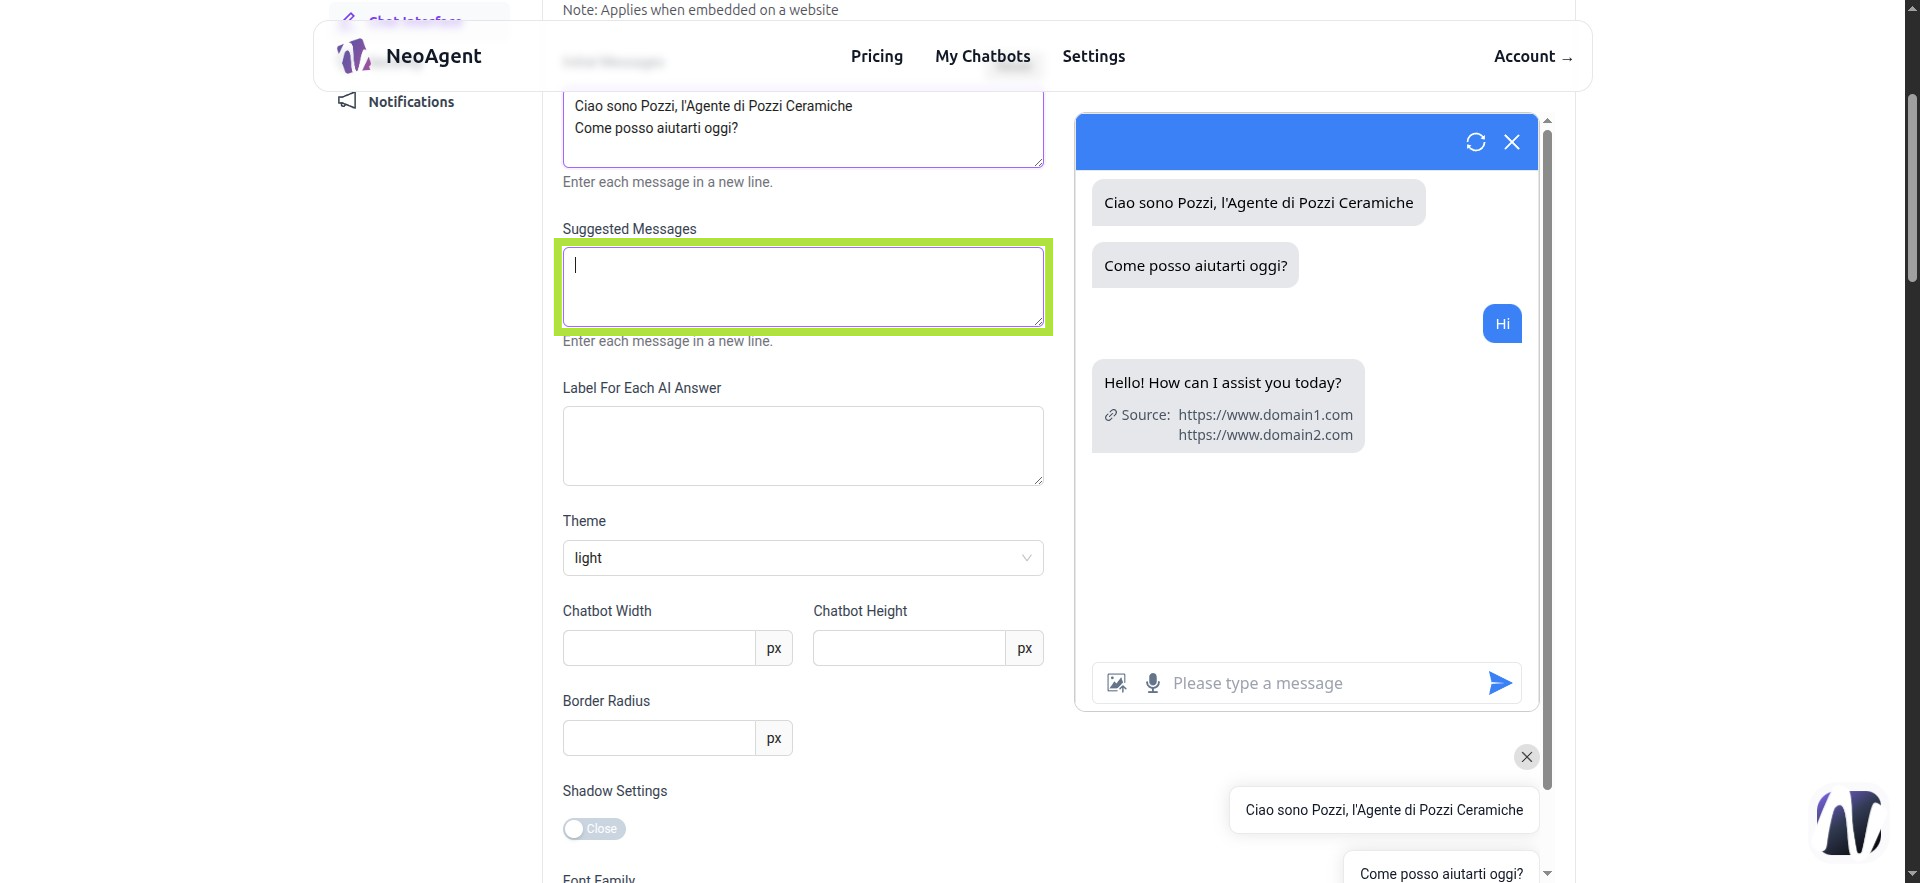
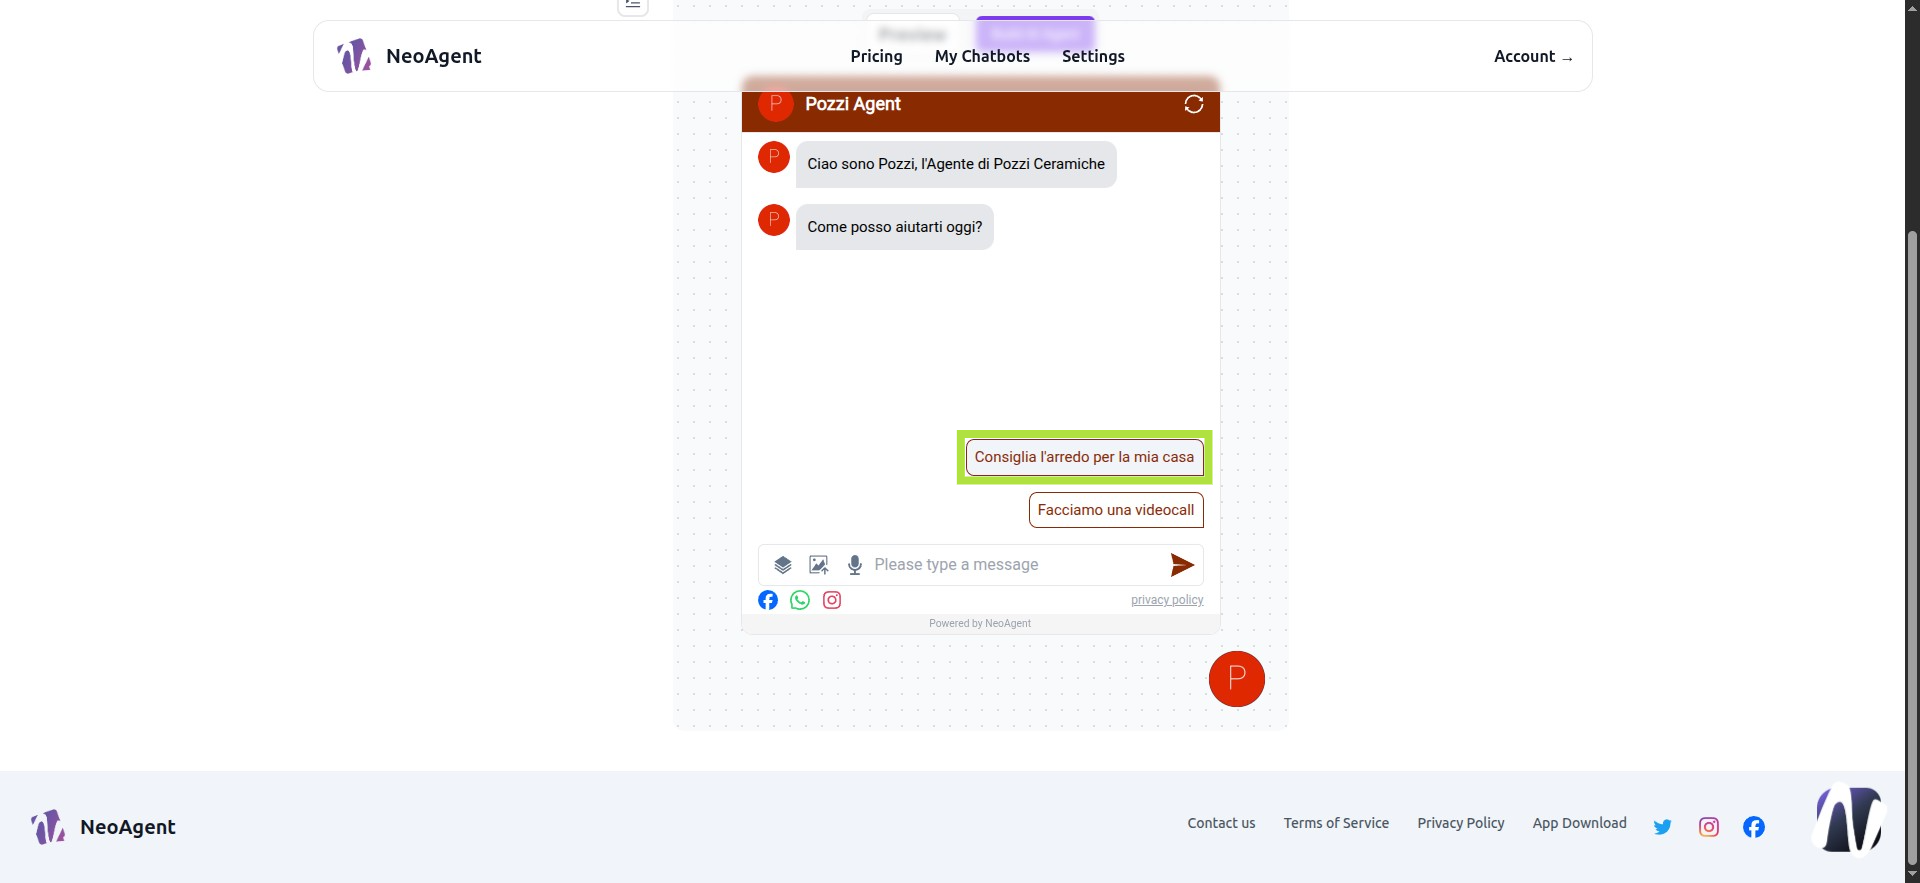
Step 23: Suggested Messages
We will insert messages to guide the user in the conversation. They will appear as buttons within the chatbot.
Step 24: Dark or Light Theme?
Choose your preferred one!

Step 25: Below the prompt, you can select the model to use. In this example, we will use gpt-4o-mini

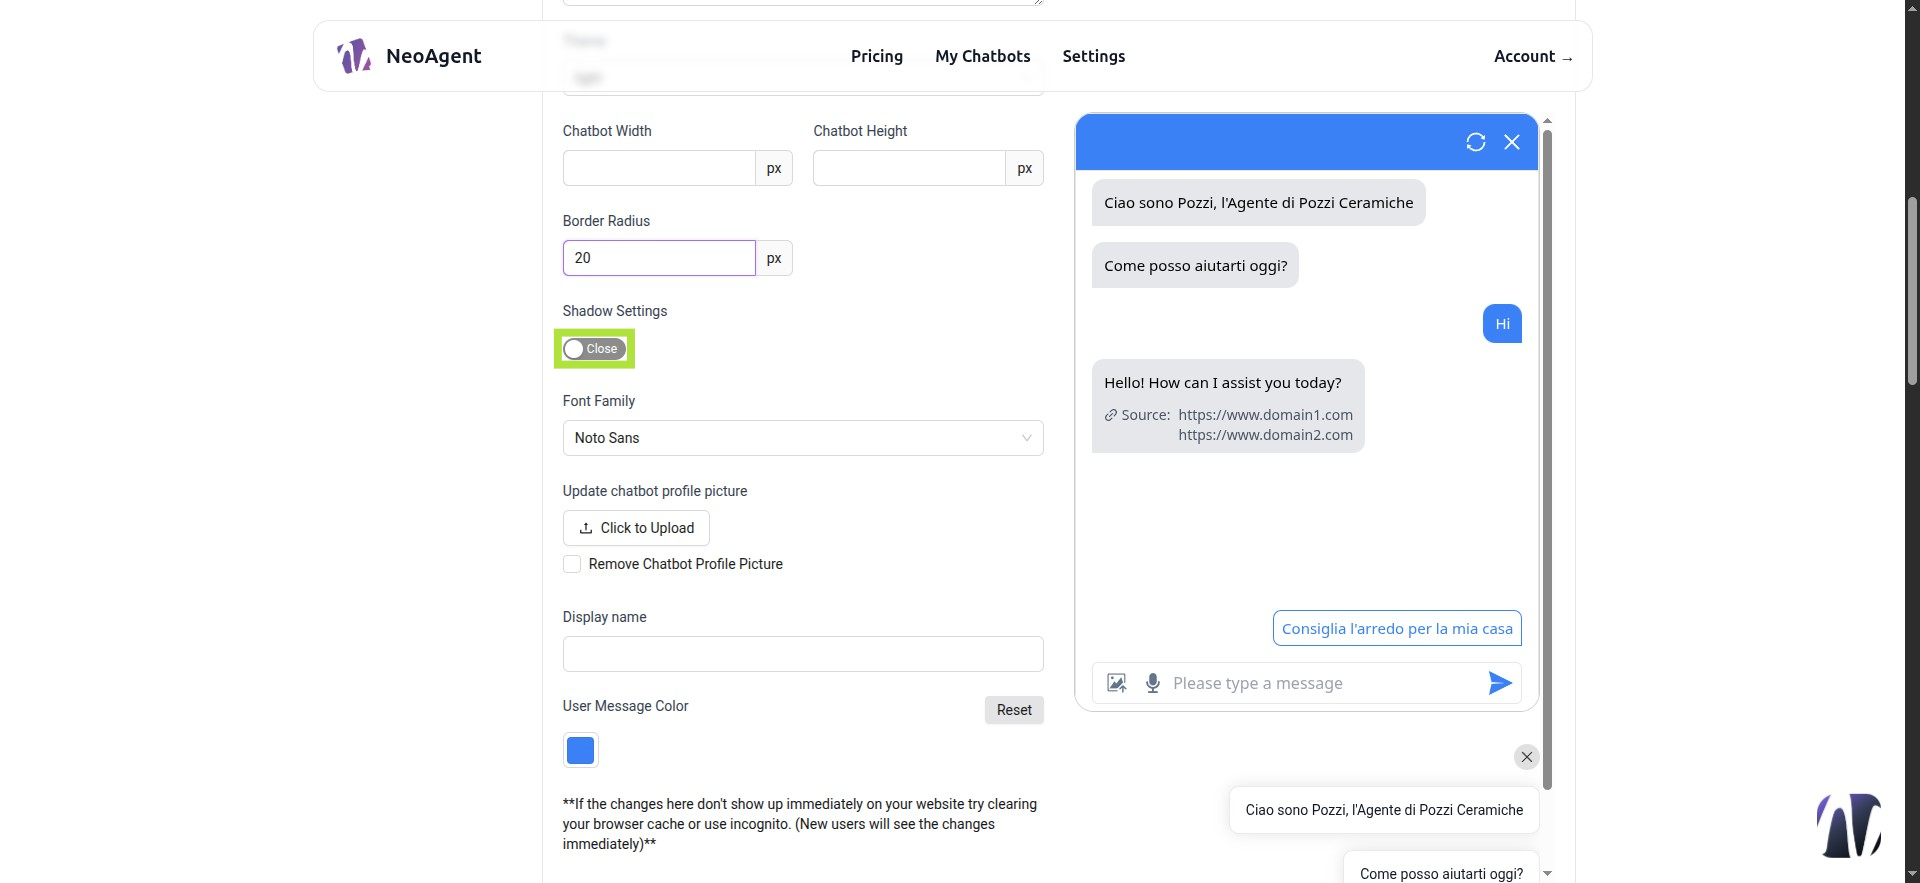
Step 26: Shadow Settings
We can add a shadow behind the chatbot's main window
Step 27: Shadow Example
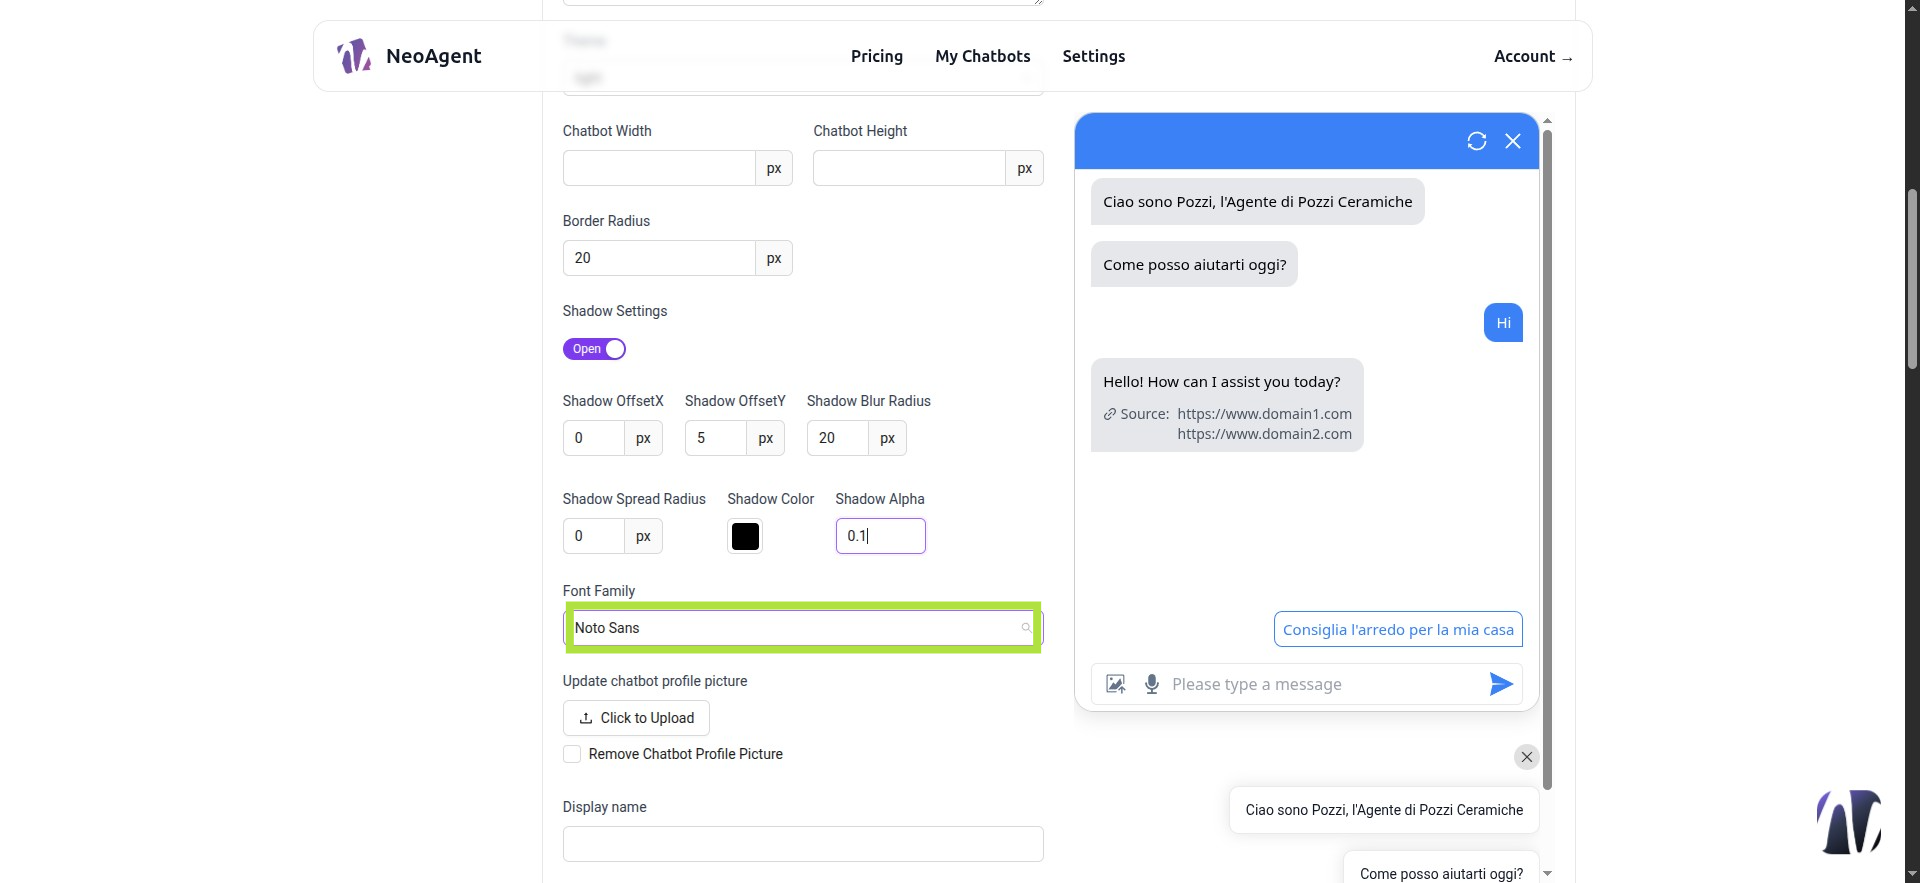
Step 28: Font Family
Let’s choose a font type

Step 29: Upload the logo or image that will appear at the top left

Step 30: Enter the Name that will appear next to the logo

Step 31: Choose a color

Step 32: Push To Talk and Upload Image
Recommended to use OpenAI models.

Step 33: Upload an image or icon to use in the bubble

Step 34: Initial Message Delay
Set in seconds the time before the first messages appear above the bubble

Step 35: Human Takeover
Here you can set an email and a custom message when the user requests assistance from a human agent.

Step 36: Display Source Reference Link
See point 39

Step 37: Continue filling in the fields

Step 38: How to Get AI Responses That Seem Real
Here you can set the number of seconds the bot should wait before returning the response. To make the agent appear as if it is typing and then return the full response, you need to activate the button.

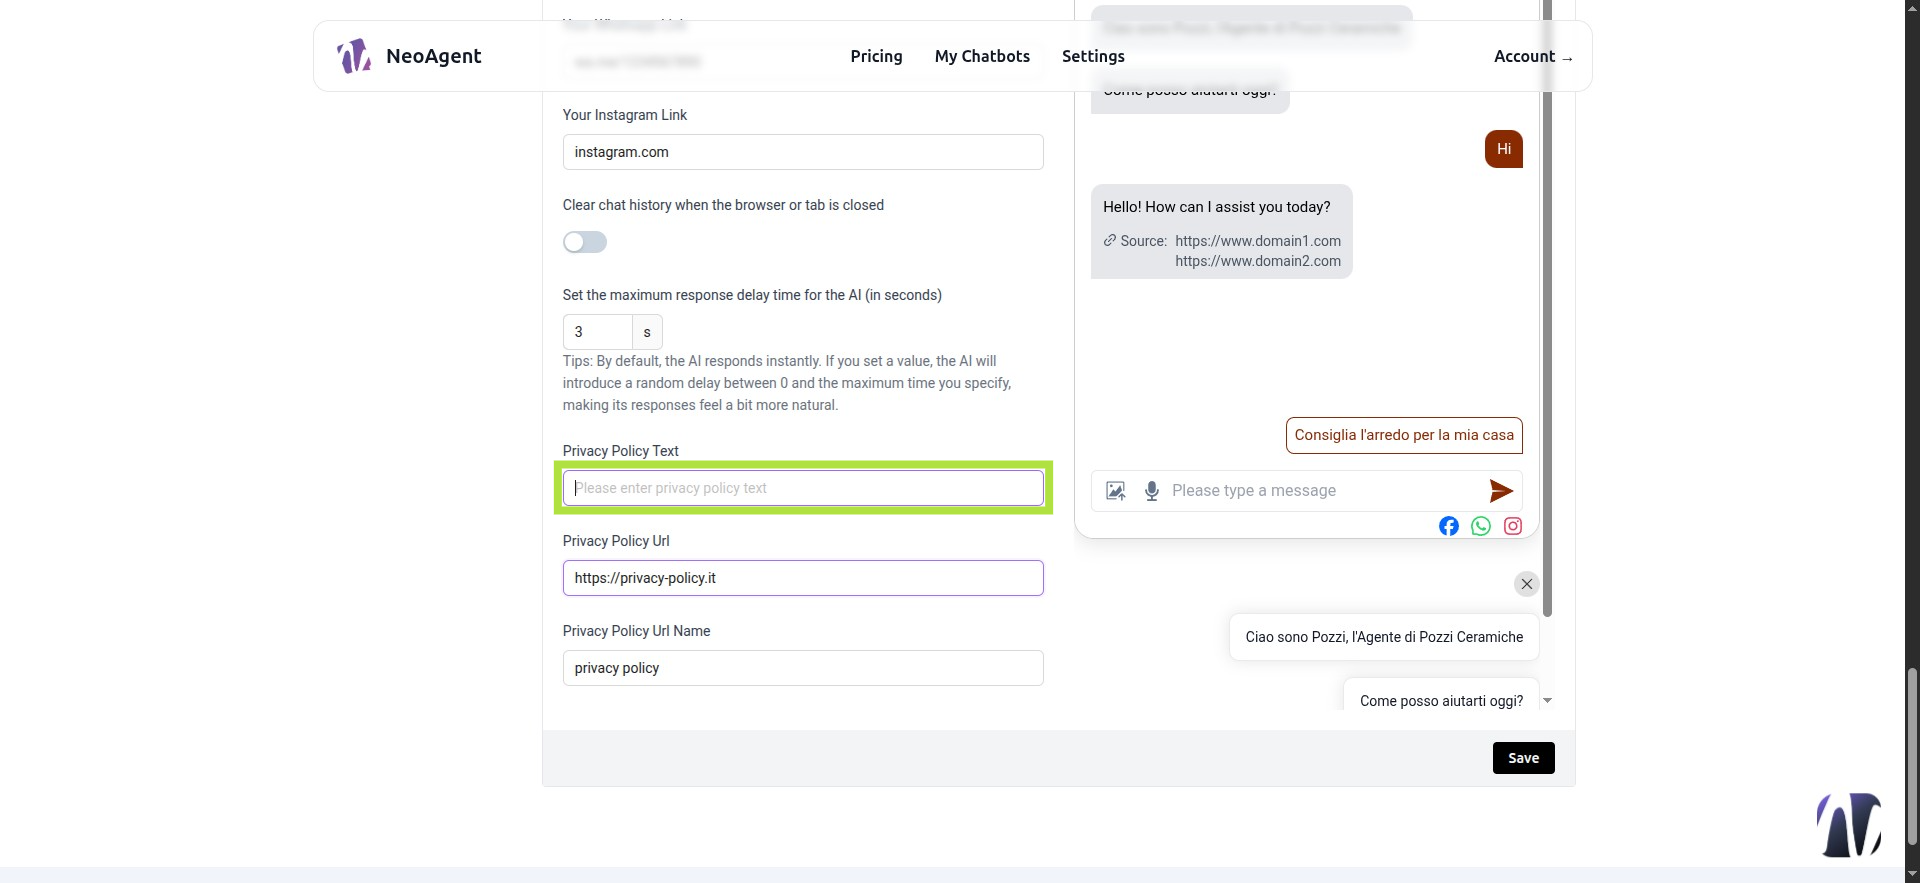
Step 39: In Privacy Policy Text
It is recommended to insert a blank space
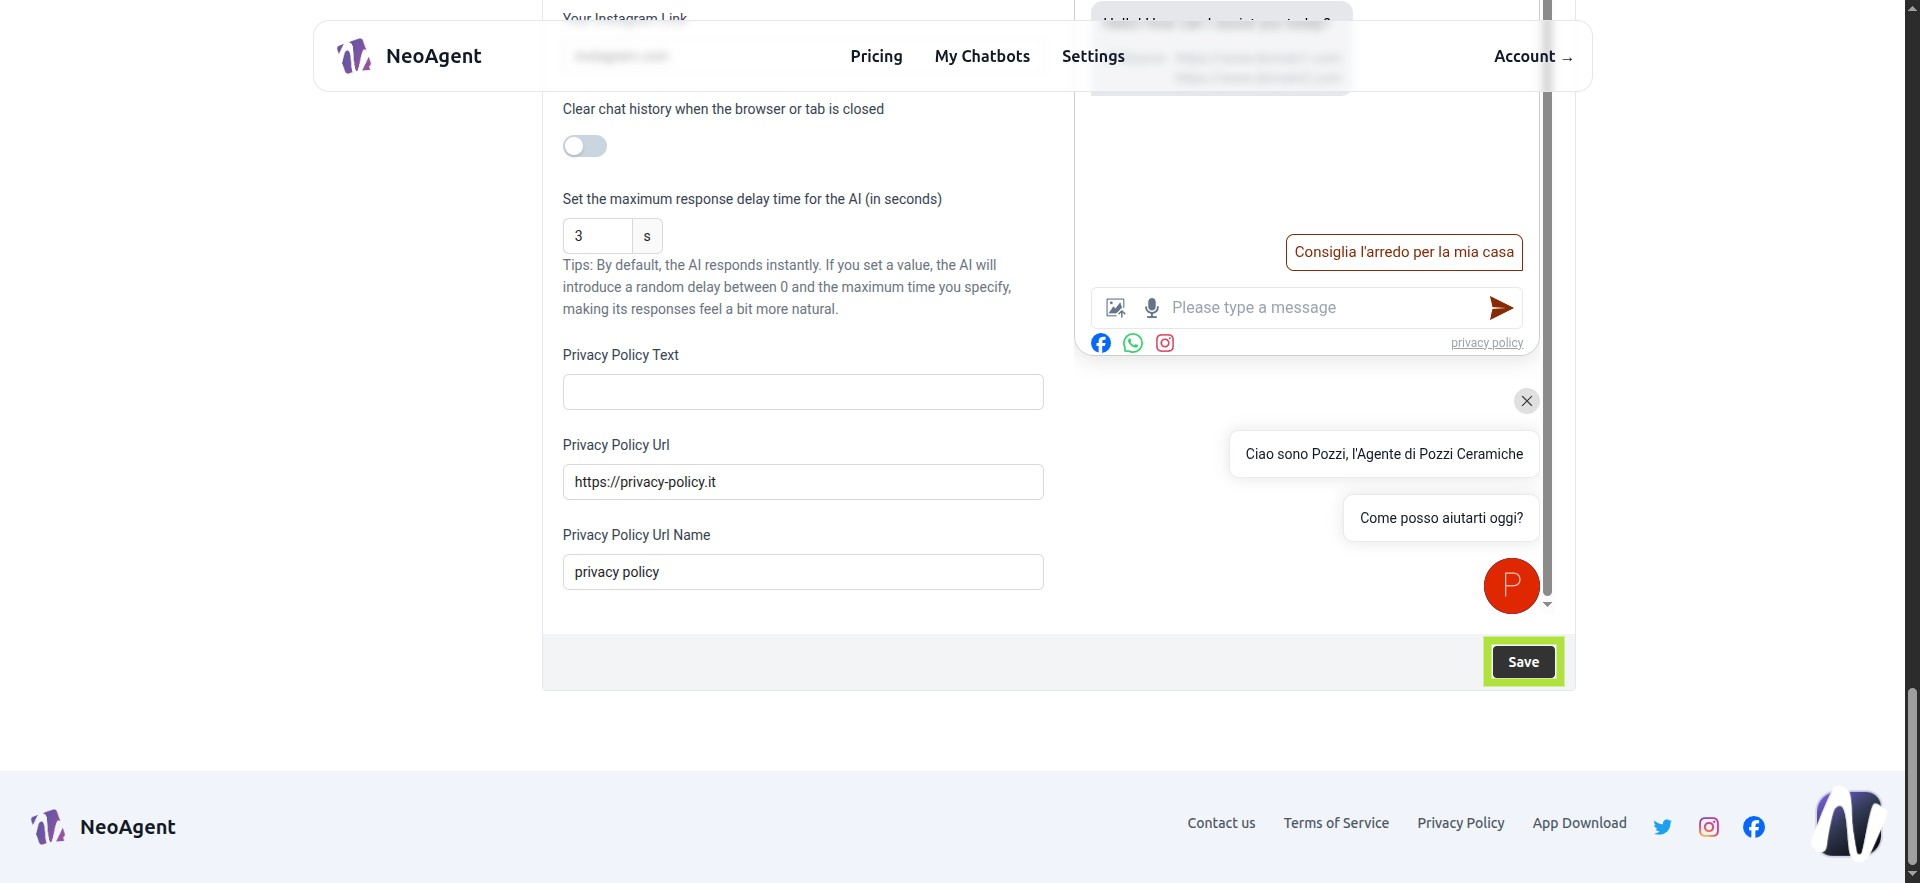
Step 40: Save
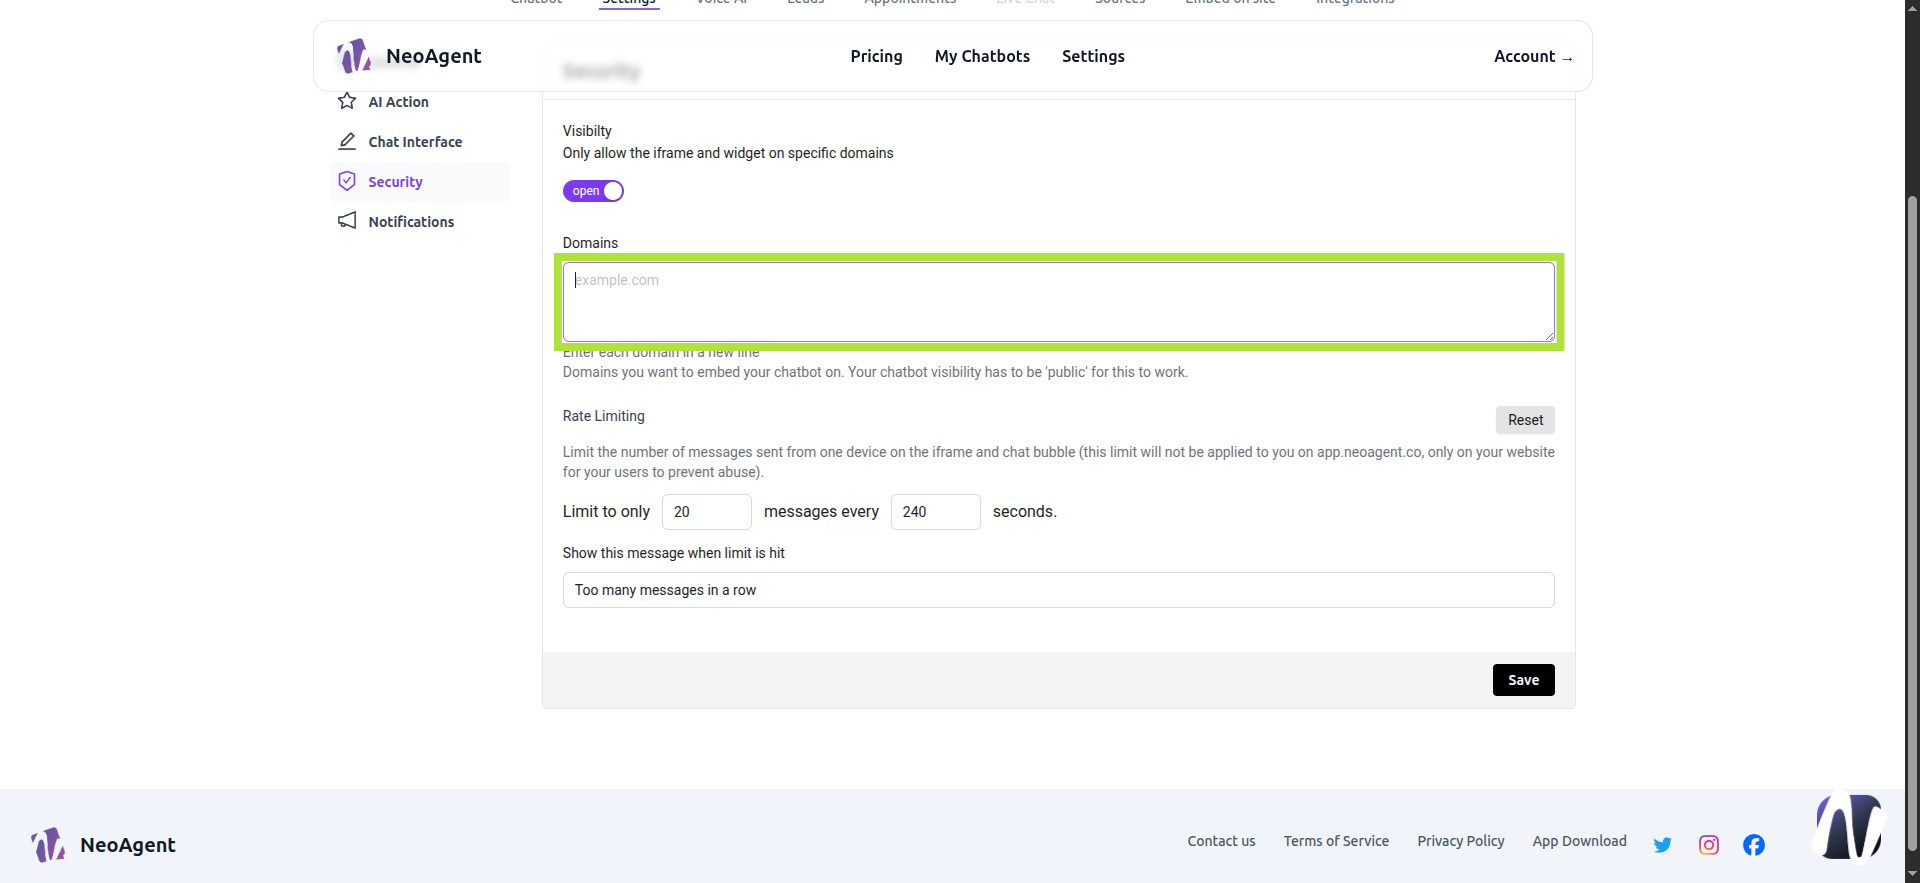
Step 41: Security Settings
In this panel, we can:
-
Enable visibility only on specific domains.
-
Limit messages per user and per seconds.
-
Set a message

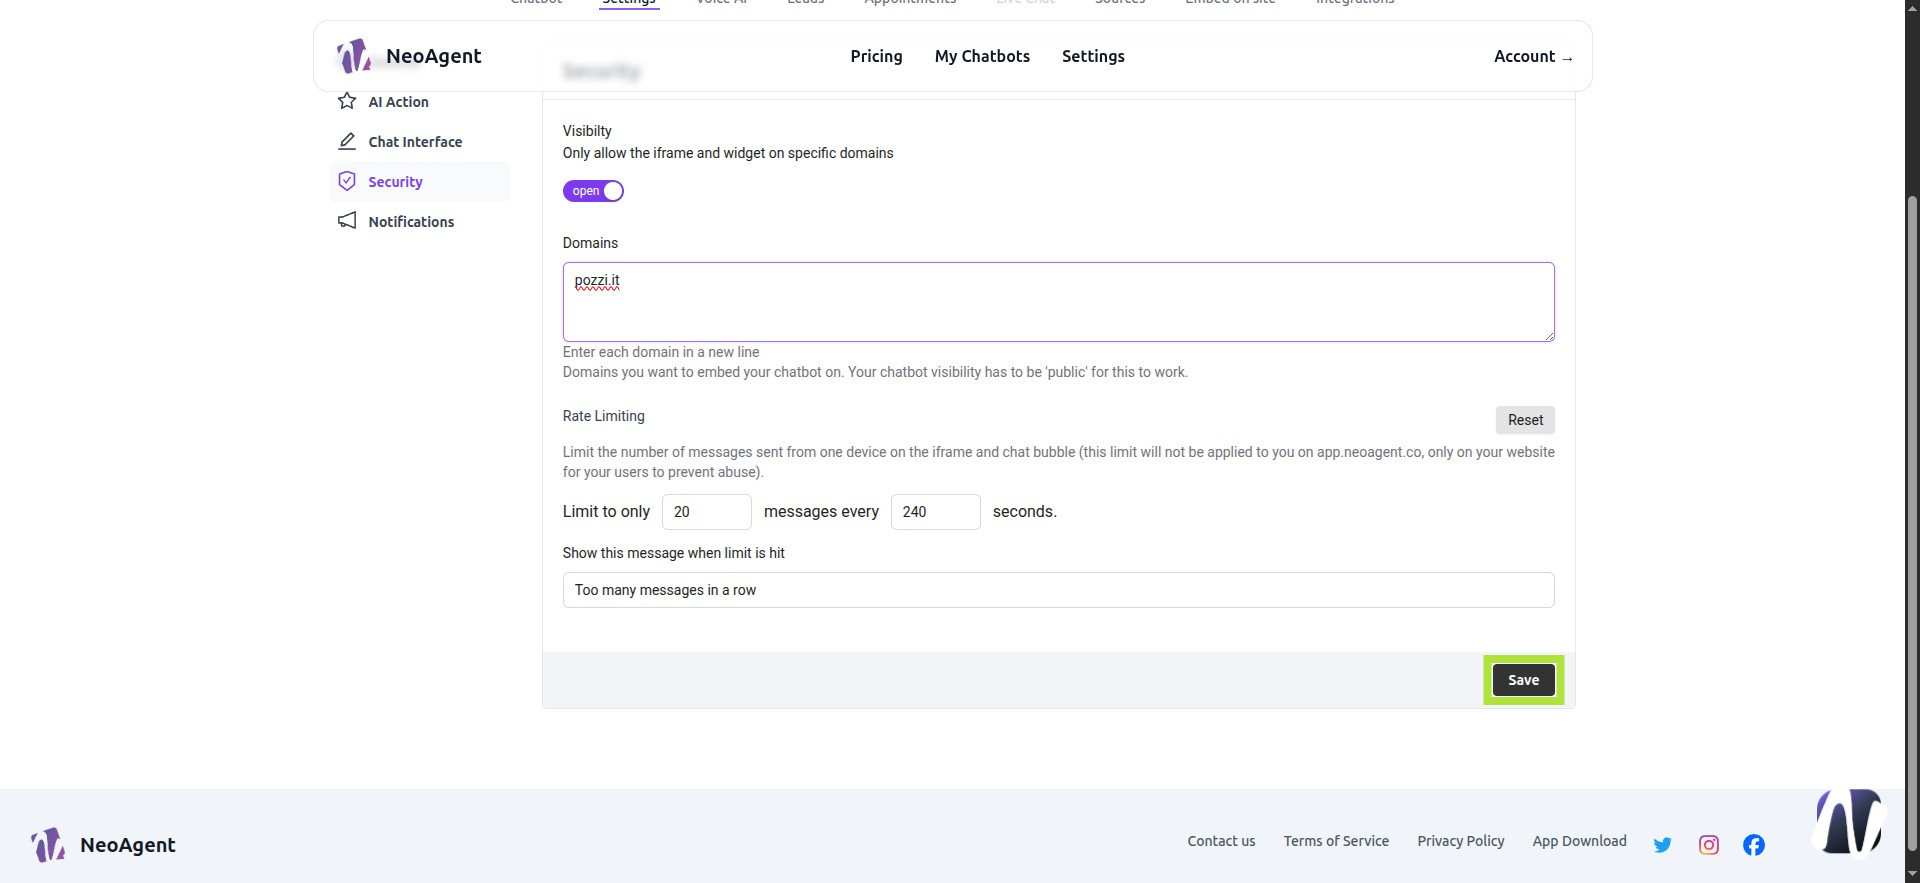
Step 42: Security Domains
Enter one domain per line
Step 43: Save
Step 44: Notification
Feature for higher-tier plans. It is possible to set up a daily email with leads and daily chats.

Step 45: Voice AI
Available for premium plans. There will be an option to have a voice agent on the website where customers can make actual voice calls.

Step 46: Example - Voice AI

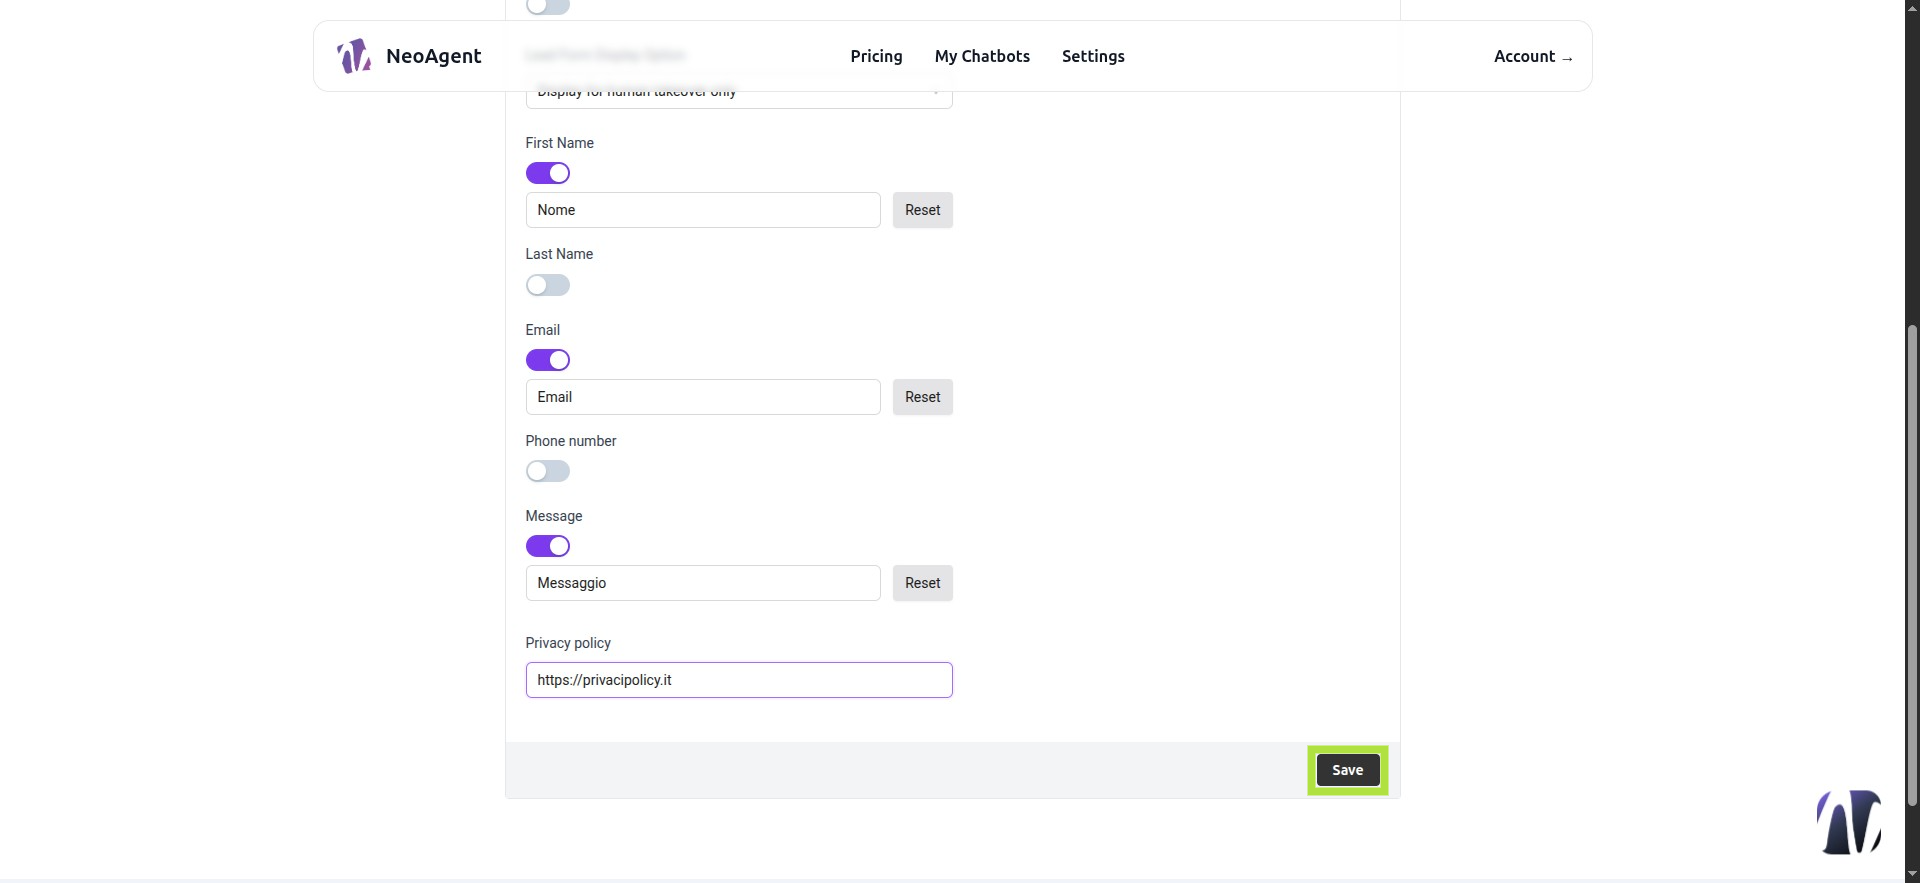
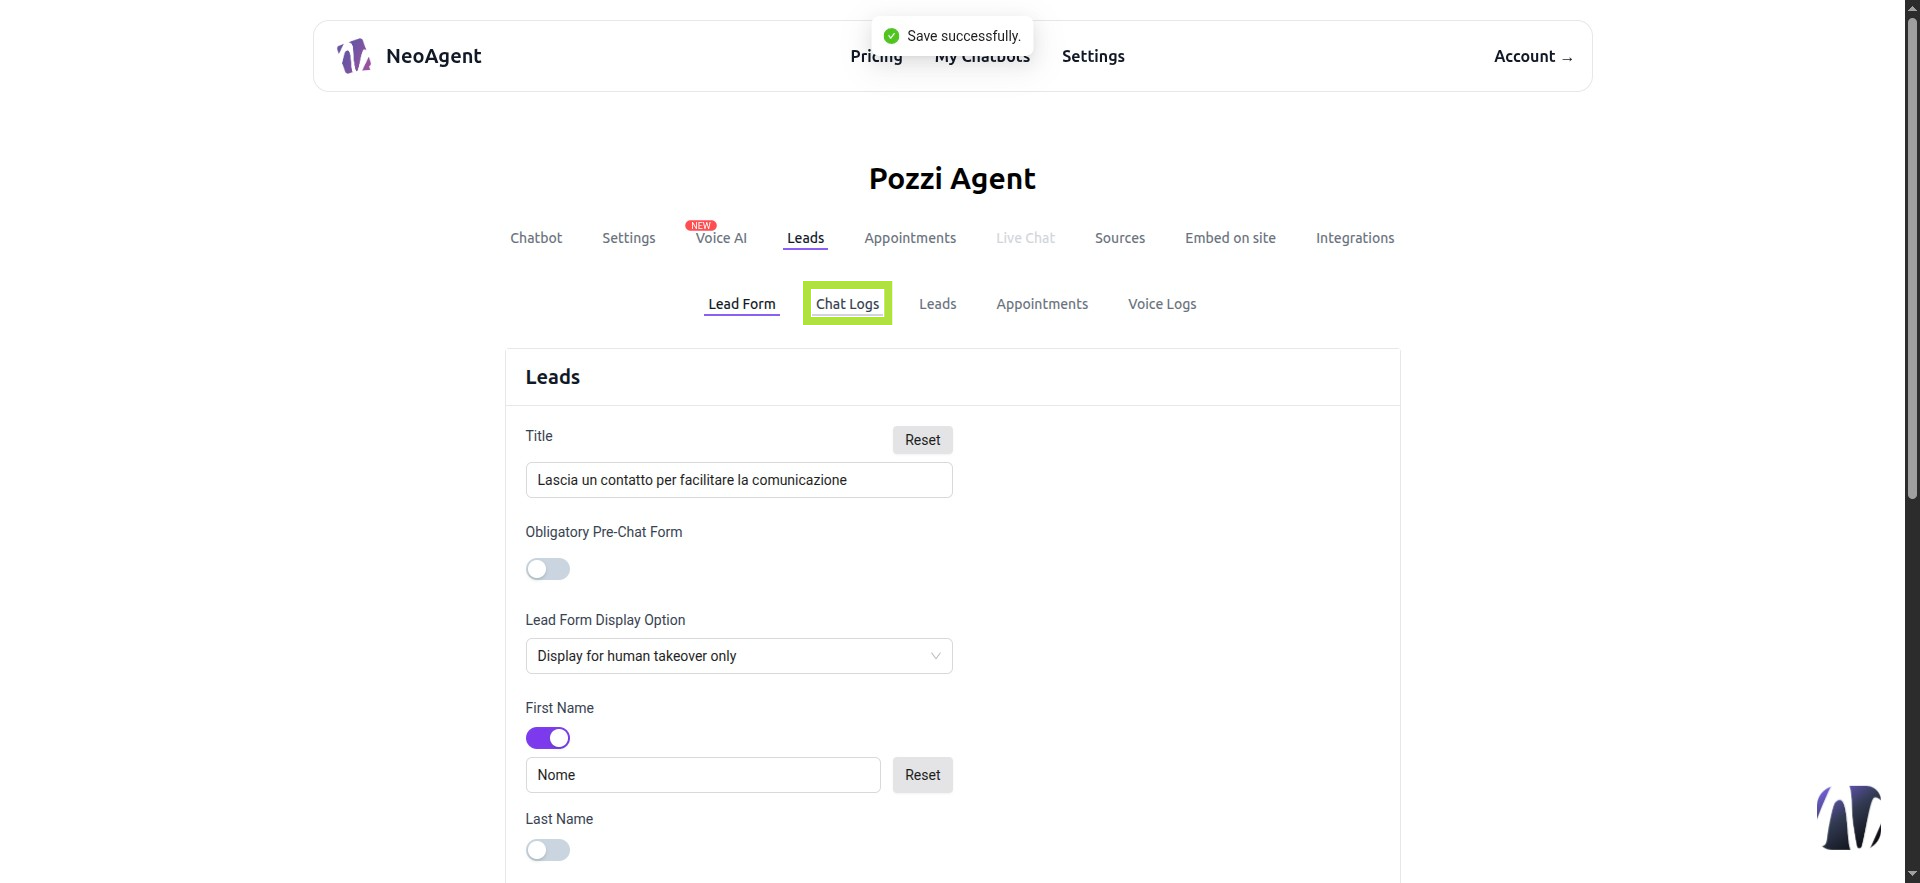
Step 47: Leads
The Lead Form is a contact form that will appear based on the parameters we set. It can appear with every message until the lead is submitted (Display for eve...), before starting the chat (Mandatory Pre...), or when LiveChat is requested (For Human Takeover Only). We enable the desired fields using the buttons.

Step 48: Fill in all fields and Save
Step 49: Chat Log
Step 50: Chat History

Step 51: Chat Log Calendar

Step 52: Lead Contacts
Here, you will see all leads collected from the form or when requested by you via prompt.

Step 53: Lead Appointments
All appointments collected during chats. Here, we also have a calendar where we can select a date range.

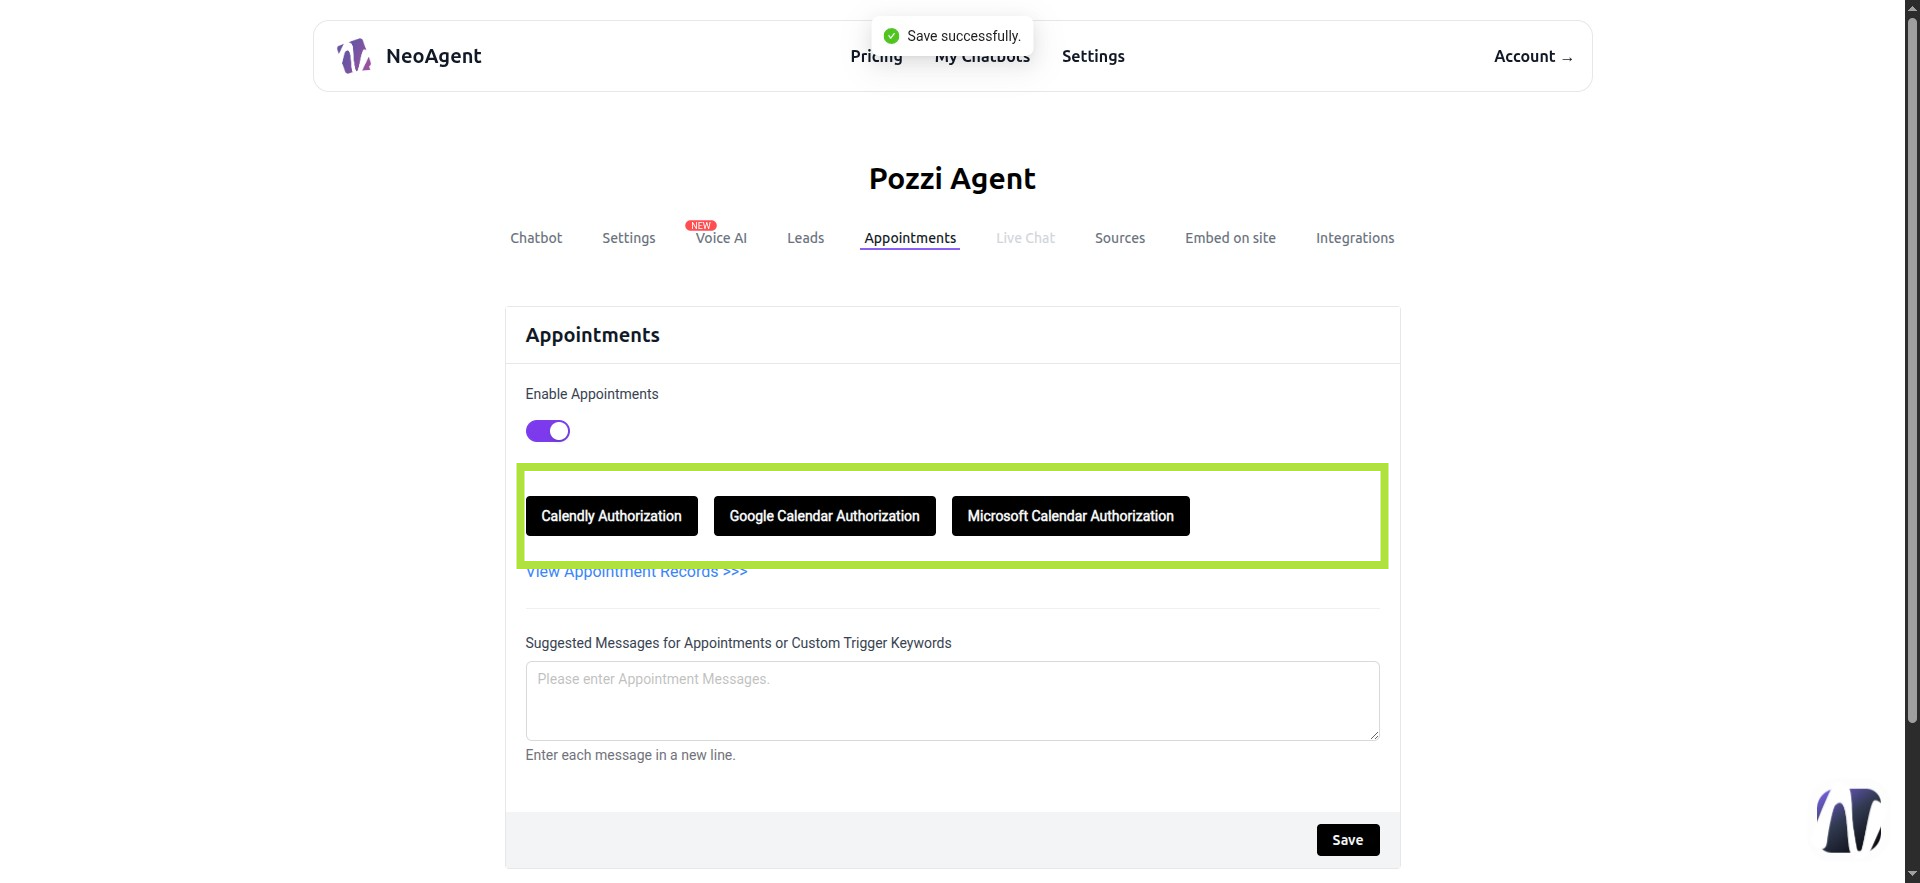
Step 54: My Chatbot Appointments
Select the calendar to use among Calendly, Google Calendar, or Microsoft Calendar, and follow the on-screen procedure by granting permissions. [Via AI Actions/Webhooks, you can set up multiple calendars simultaneously.]
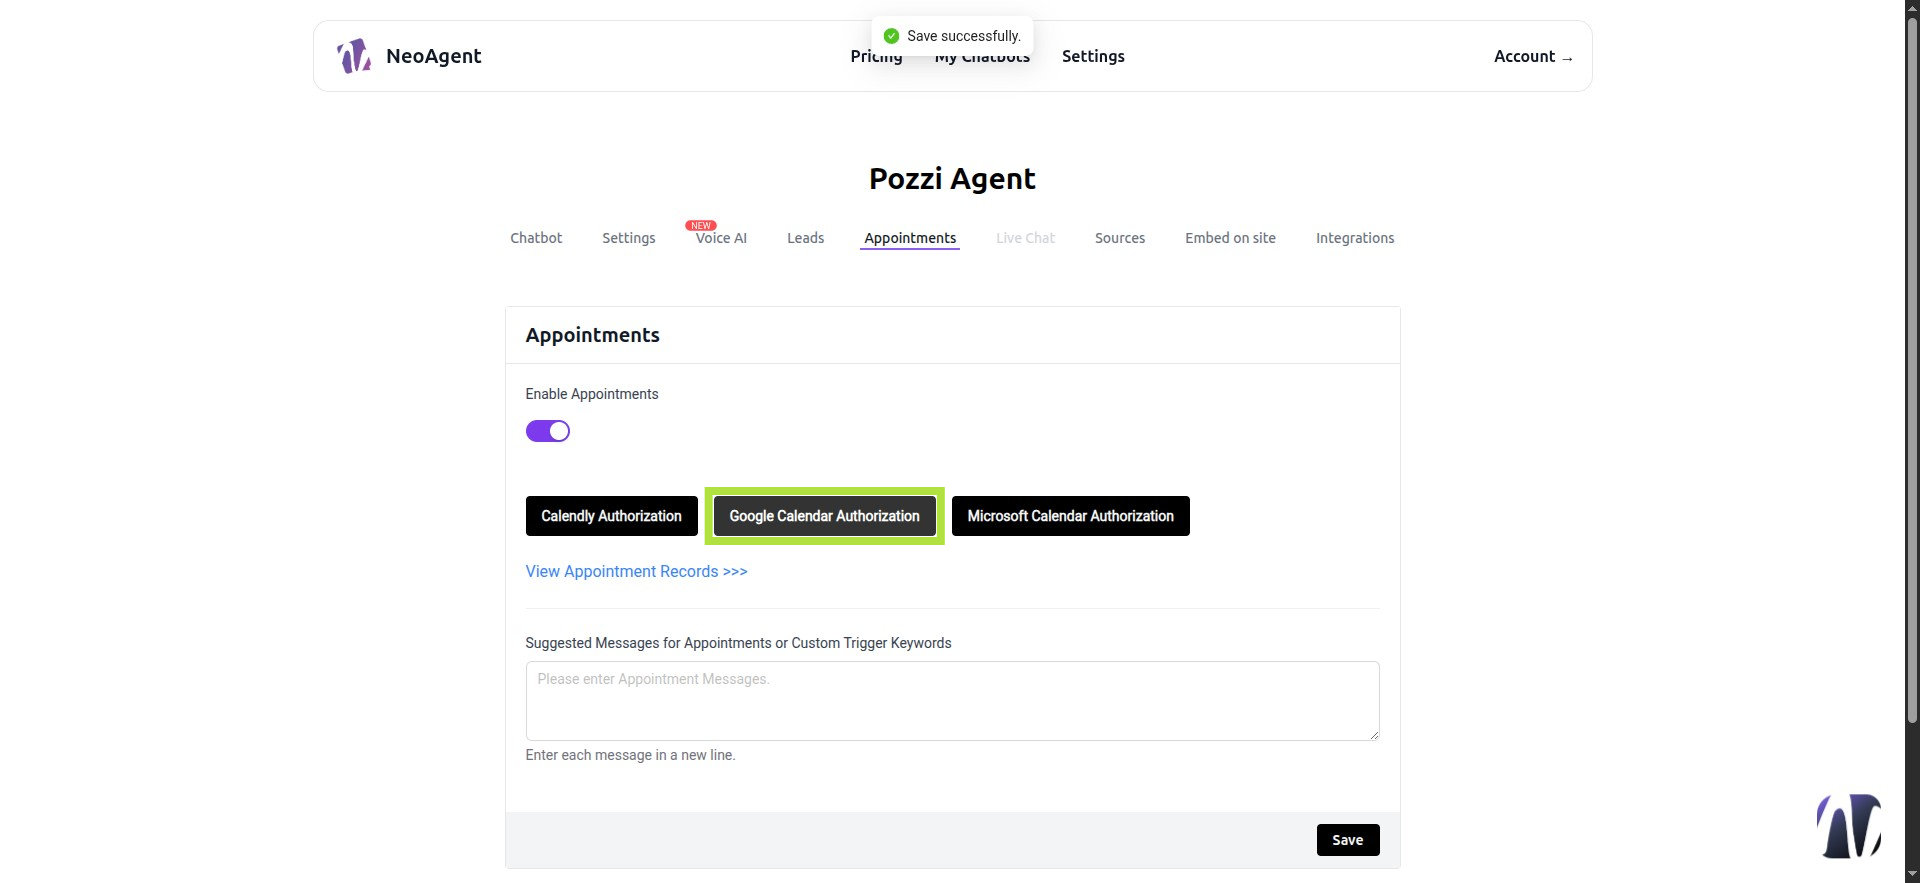
Step 55: Example with Google Calendar
Step 56: Select an Account
Log in or Create One

Step 57: Click Continue

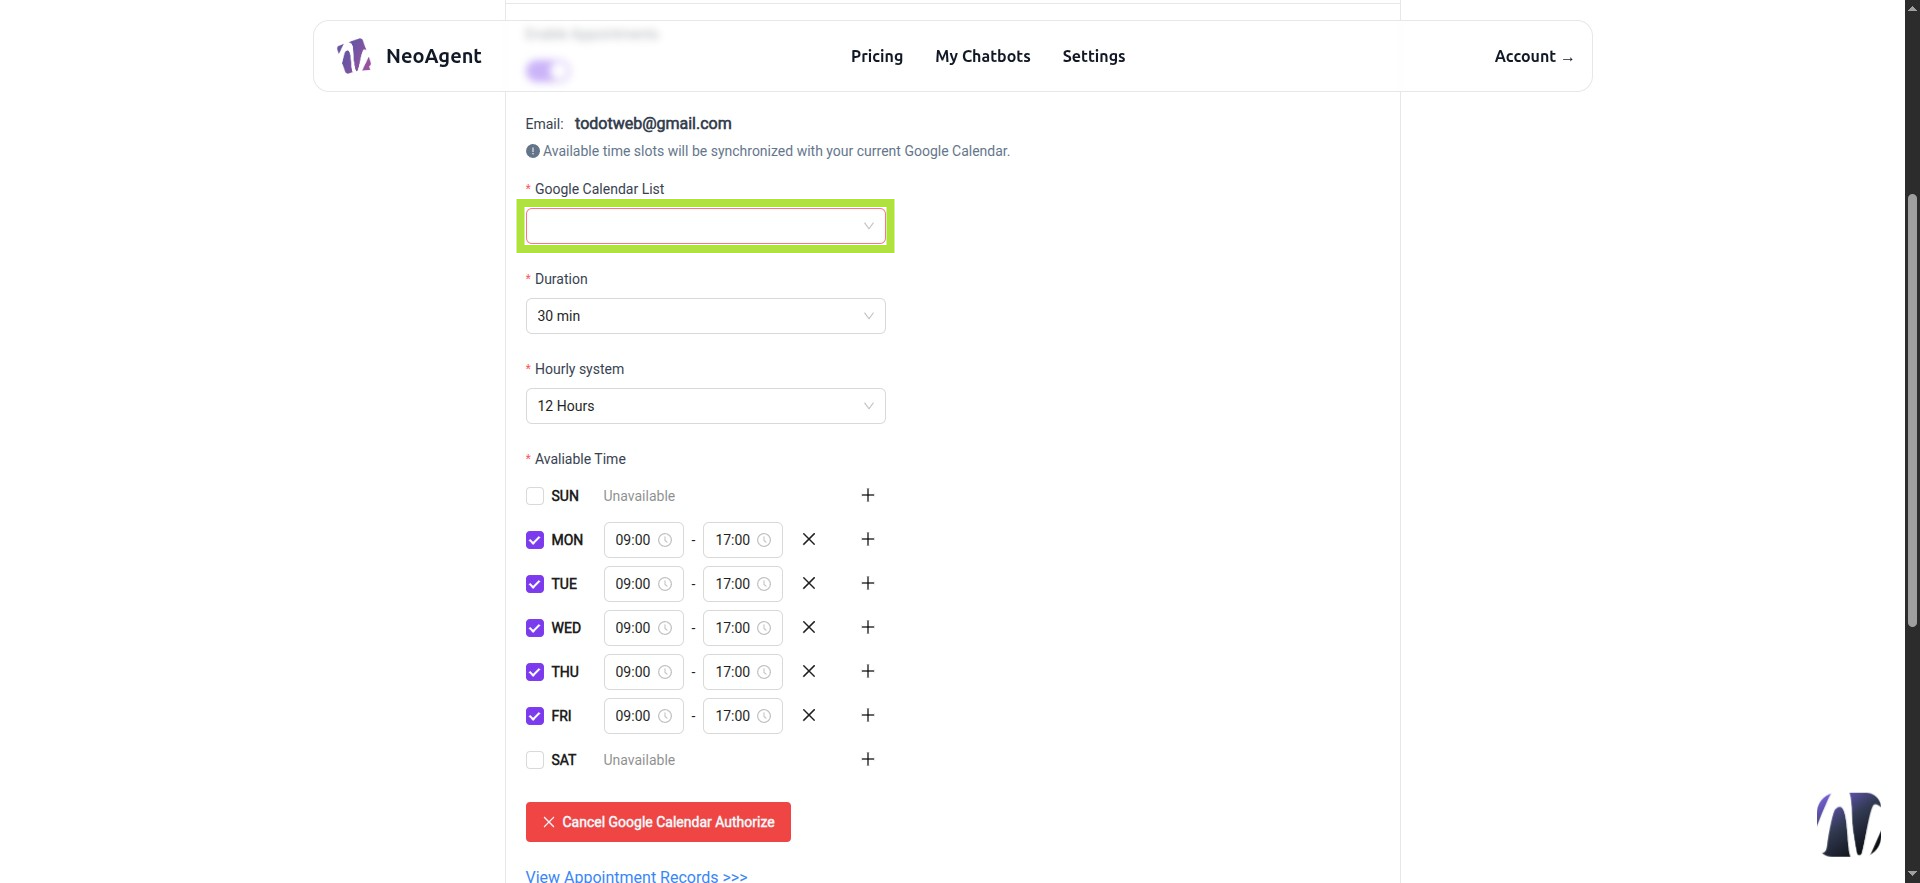
Step 58: Calendar Configured
Choose your preferred calendar from the list and complete all fields.
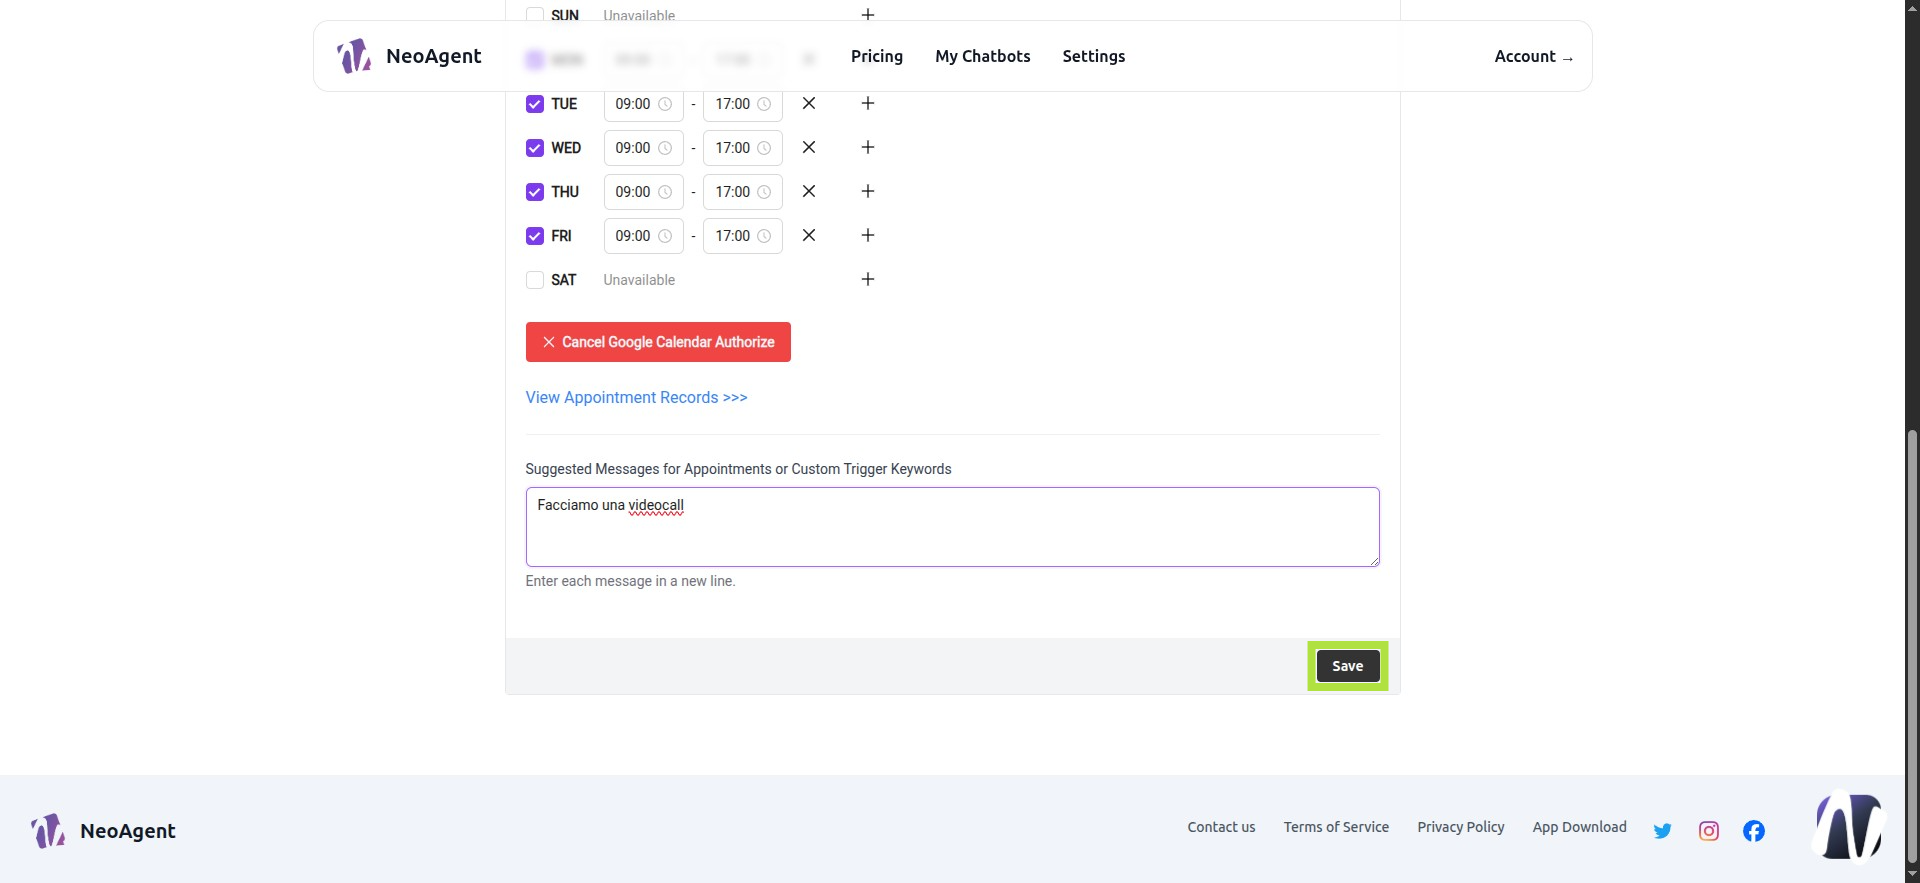
Step 59: Suggested Messages for Appointments or Custom Trigger Keywords
Enter one phrase or keyword per line to activate the appointment function. E.g., "Talk to an Assistant," "Talk to an Operator," "Talk to a Supervisor."

Step 60: Save
Step 62: Sources - Websites
-
Crawl: Enter the main website link, and it will automatically save all links from your site.
-
Sitemap: Insert a specific sitemap, and with auto-sync, the agent will train when new pages are added.
-
CSV: Upload a CSV with a list of domains.

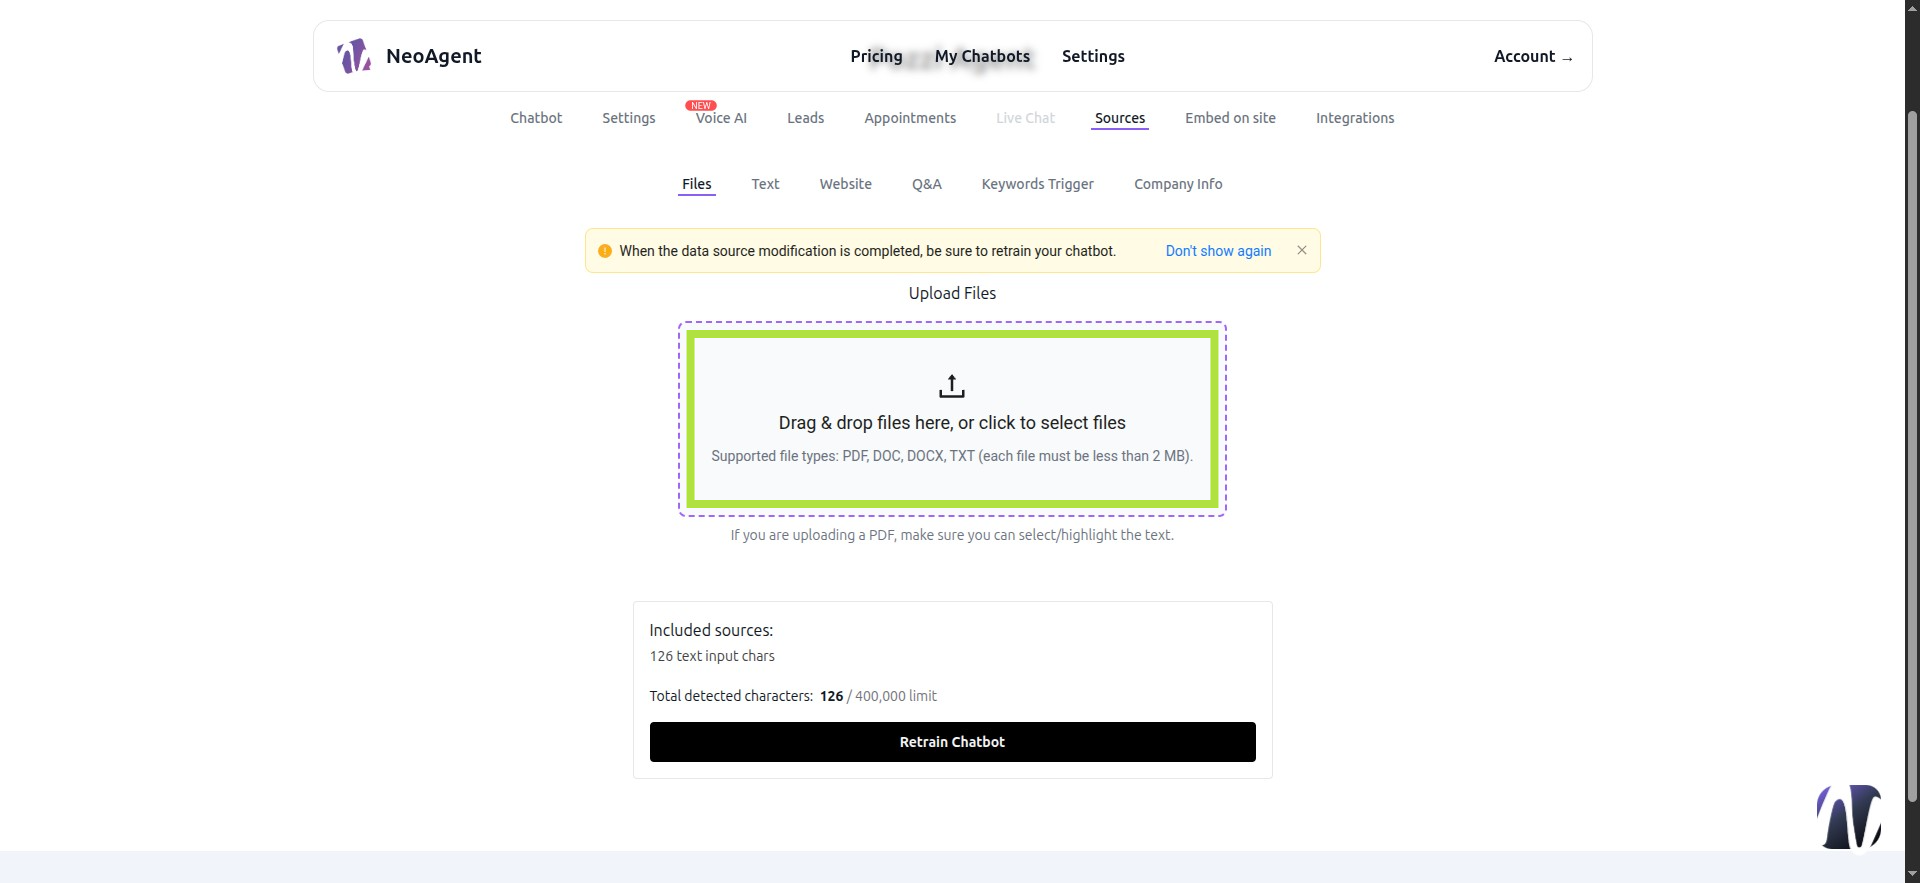
Step 63: Sources - Files
Here, you can upload documents. This section does not include AI vision, so documents must contain selectable text; otherwise, they may not work.
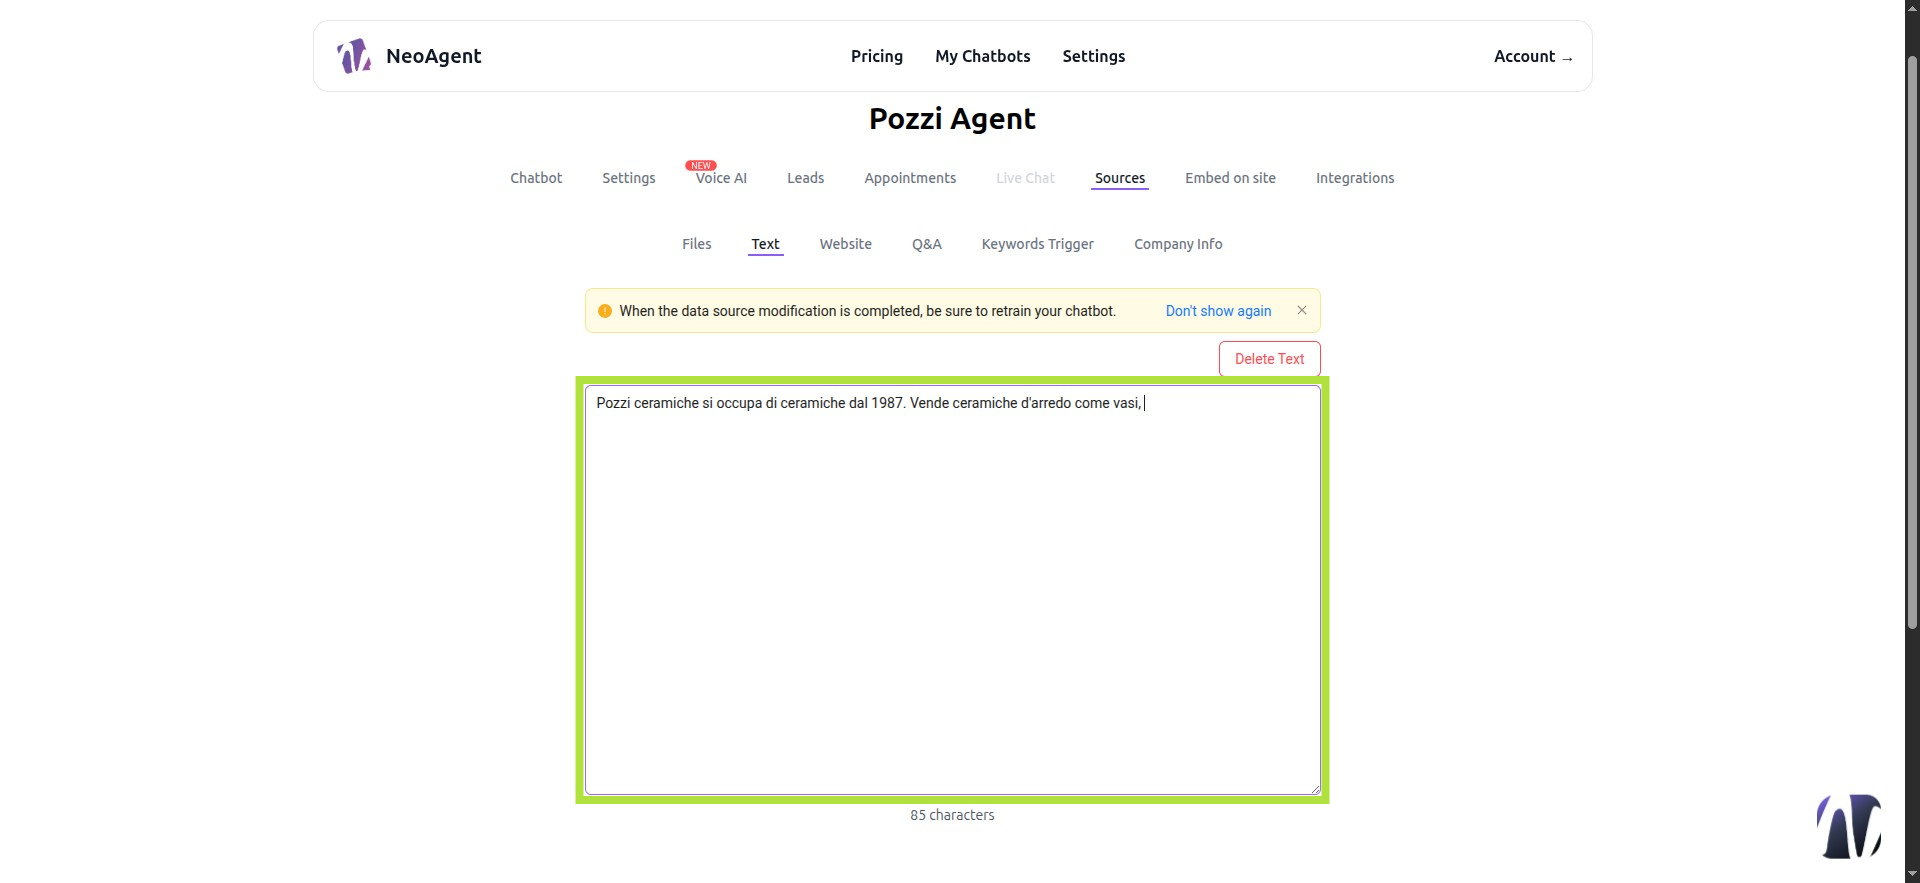
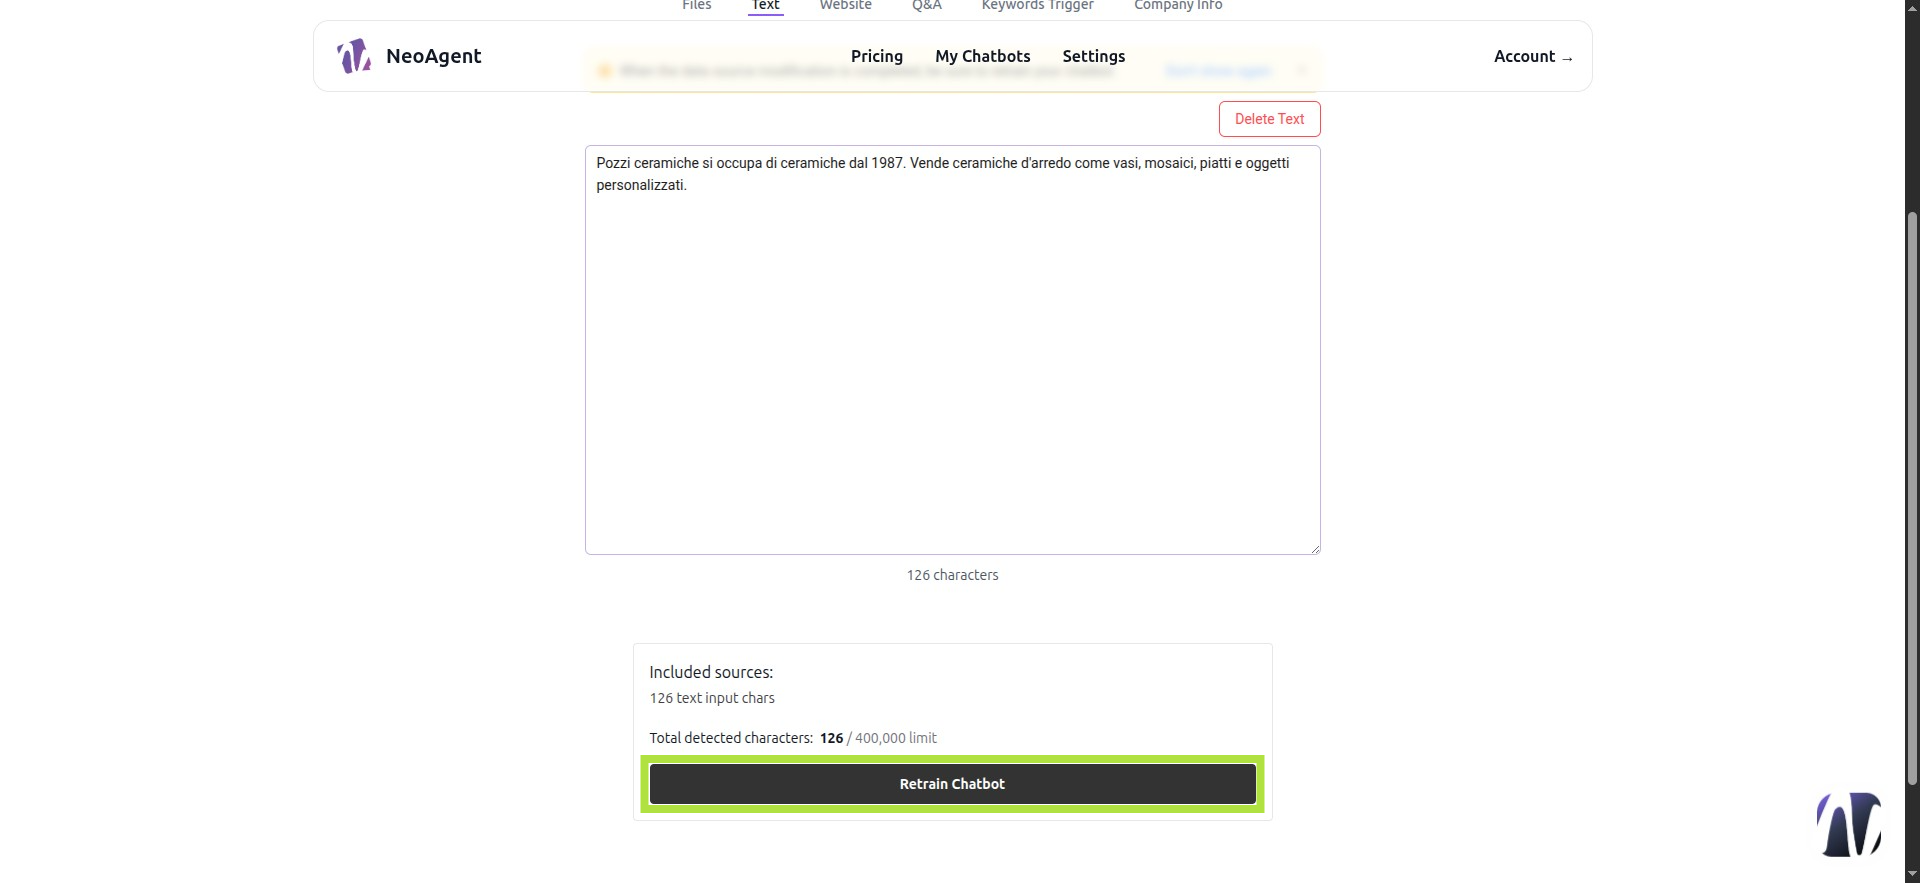
Step 64: Sources - Text
You can input plain text.
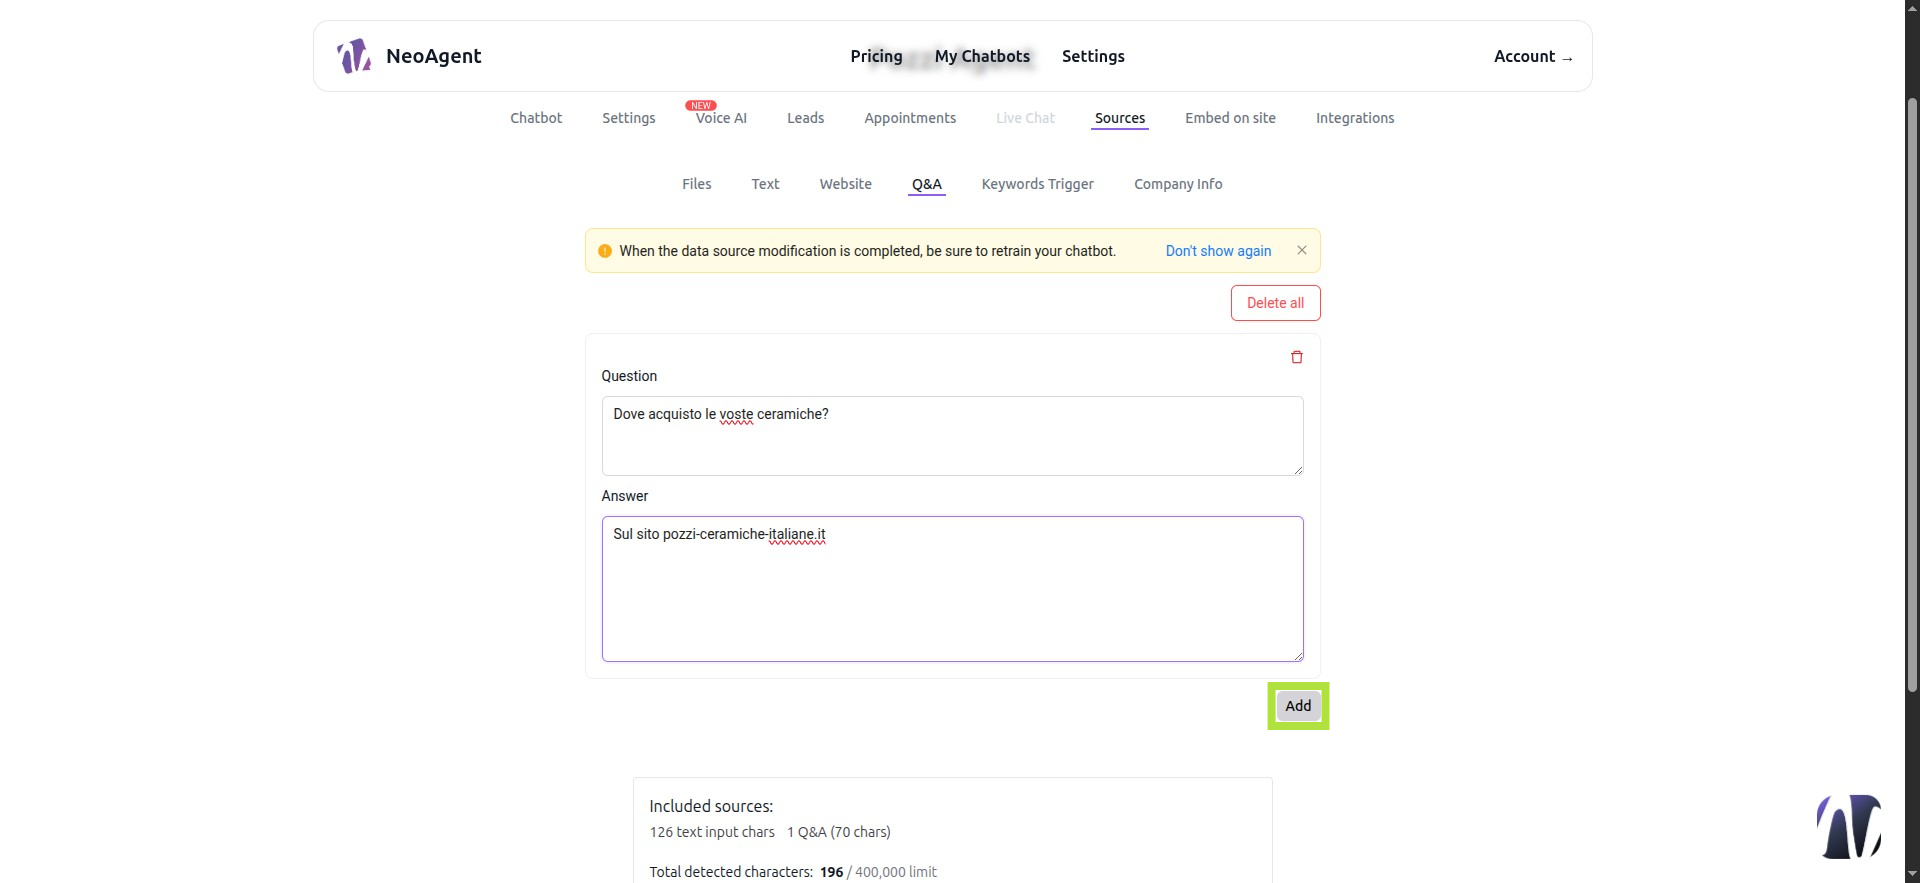
Step 65: Sources - Q&A
By clicking the Add button, we can input precise questions and answers for specific requests.
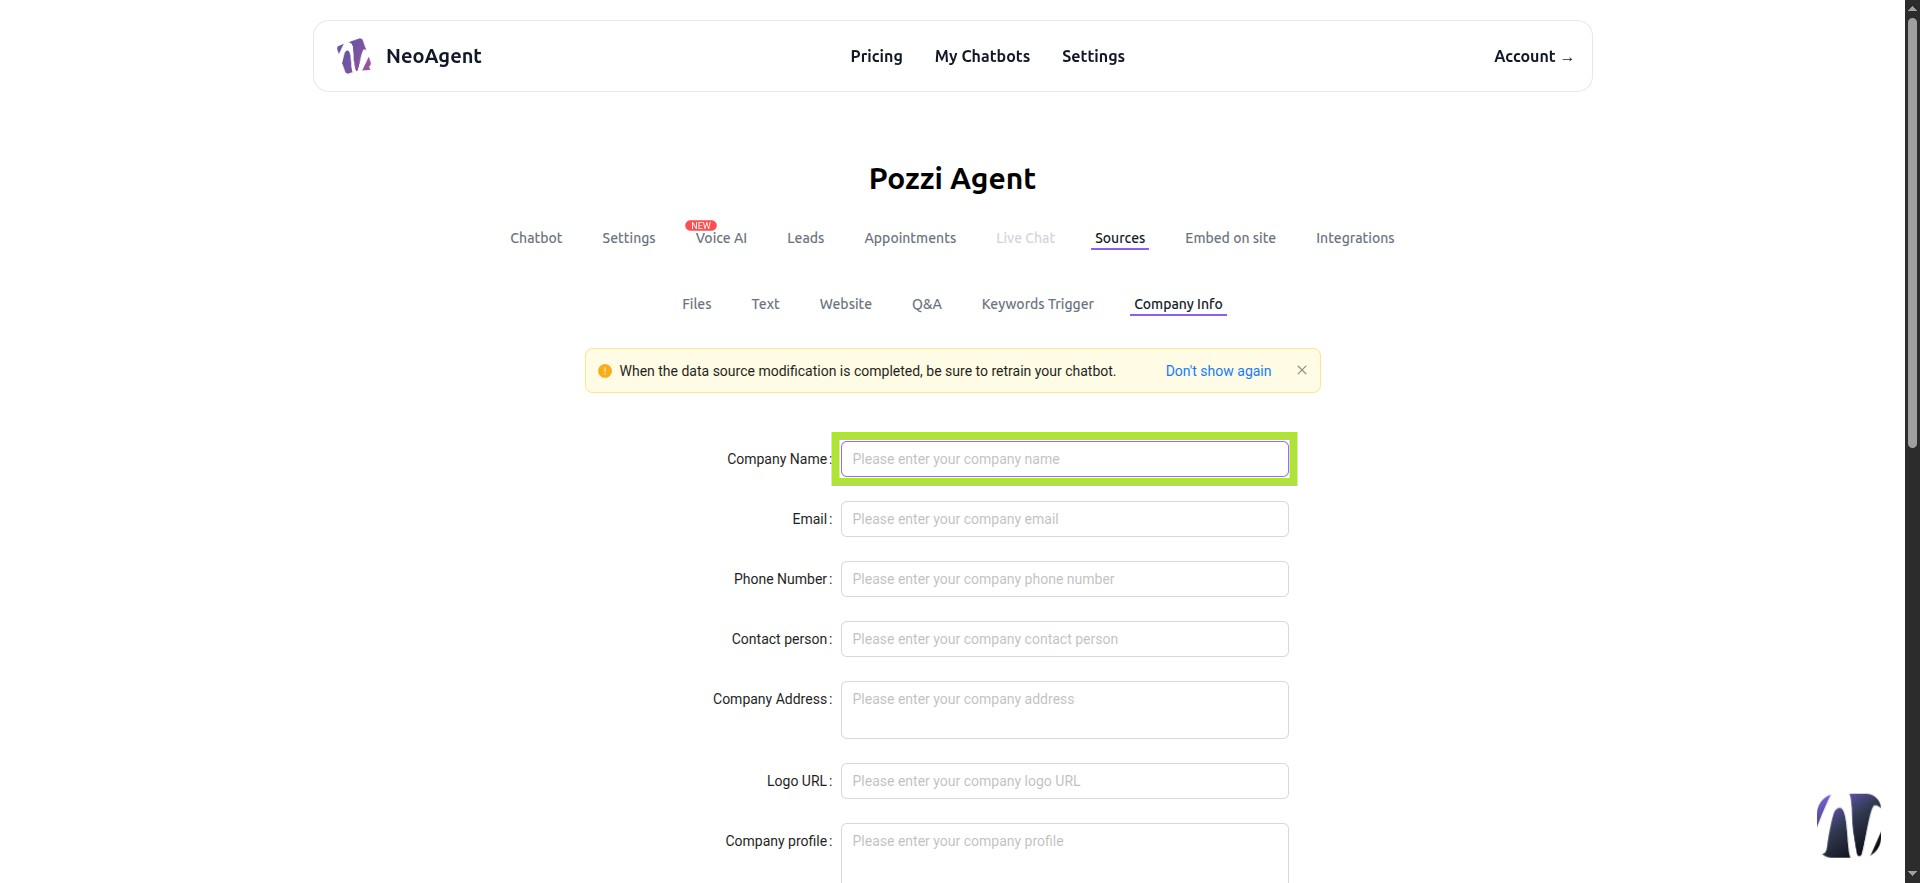
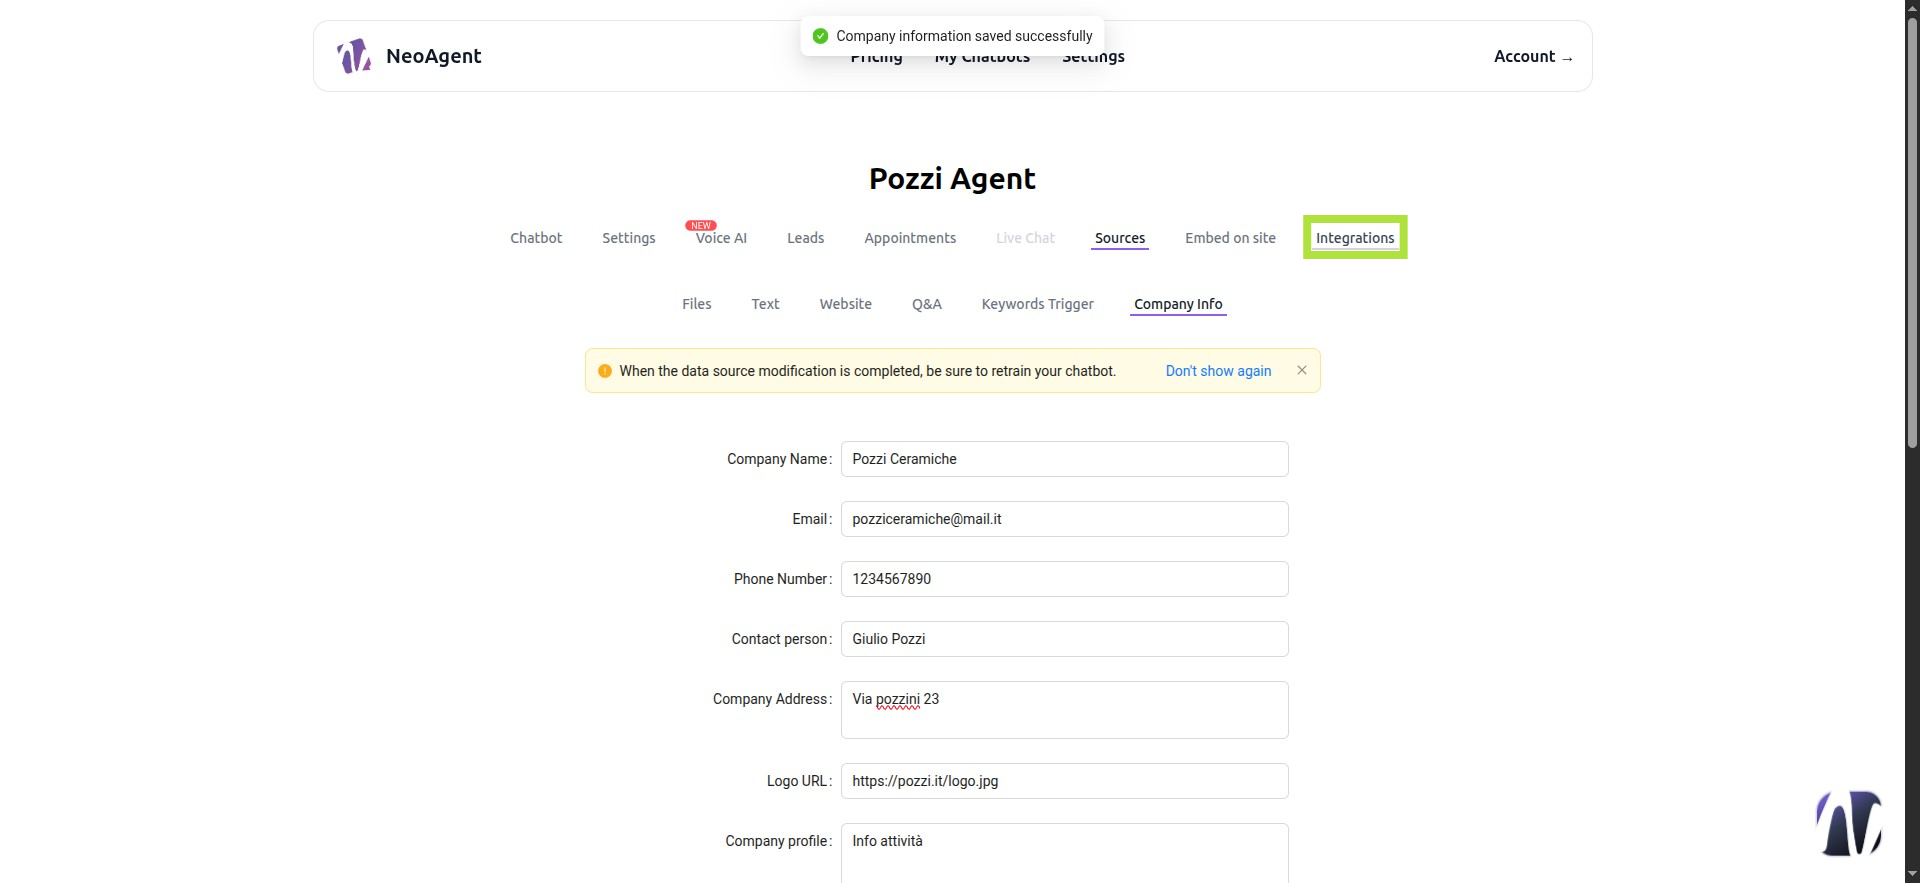
Step 66: Sources - Company Info !IMPORTANT!
This is where our agent retrieves your business details. Fill in all fields and save.
Step 67: Retrain Chatbot
Remember to click this button after every modification.
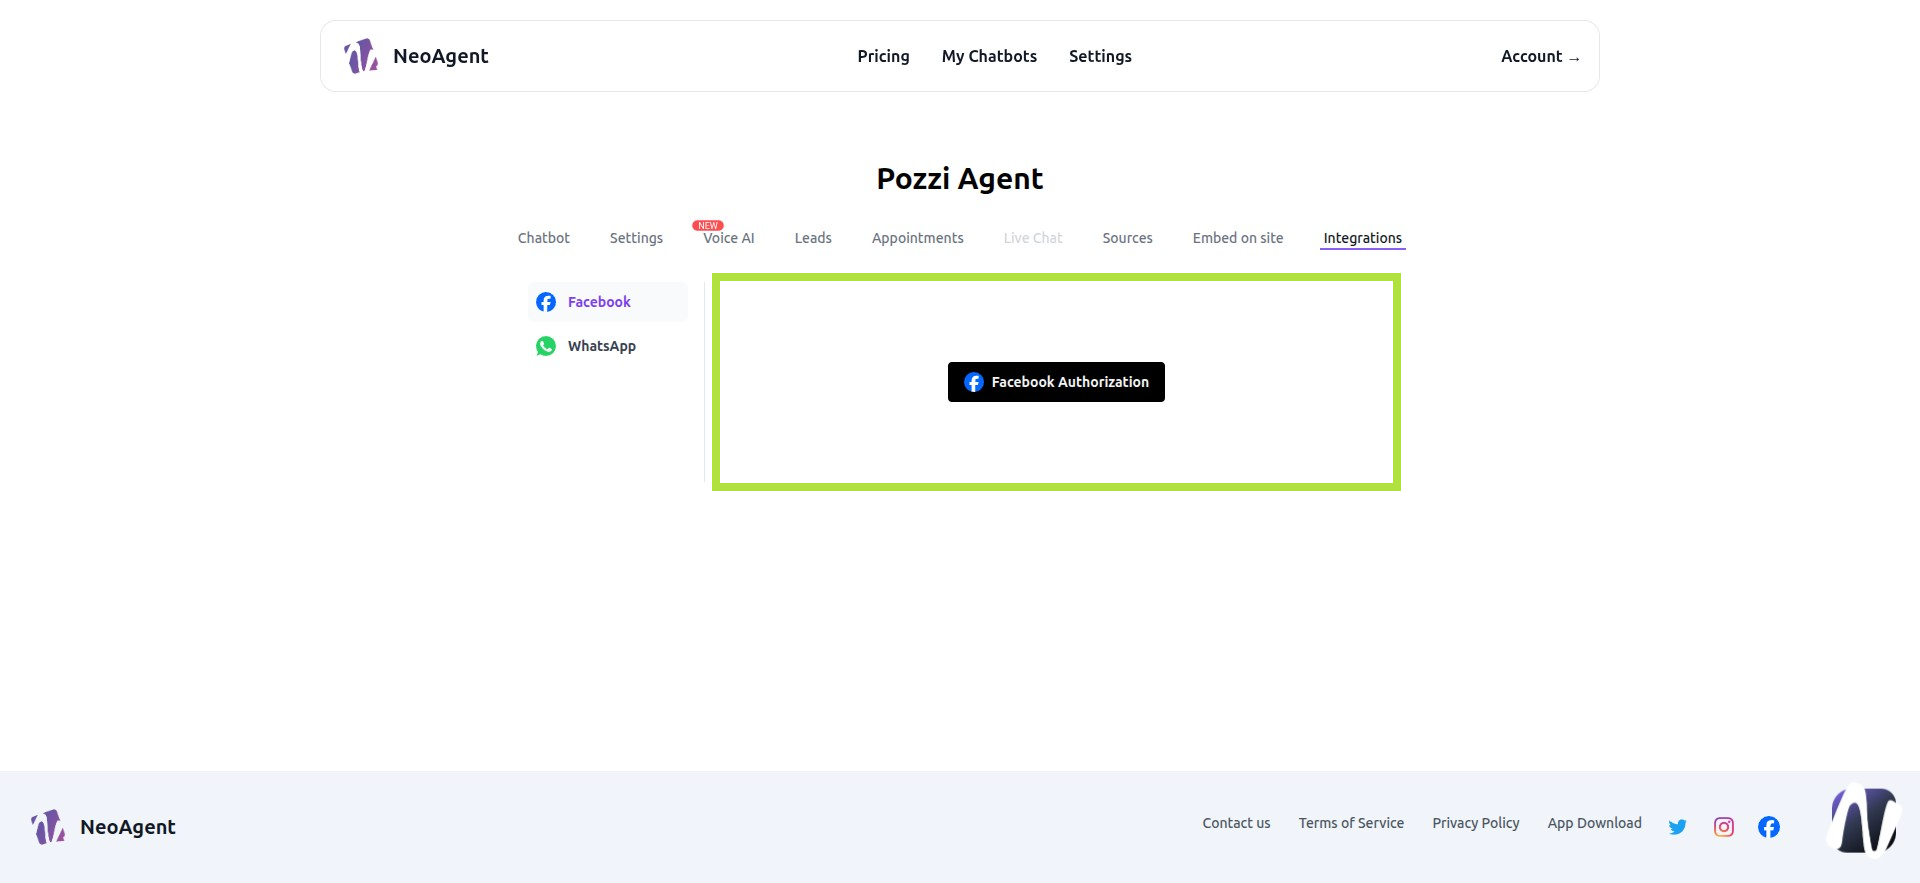
Step 68: Integrations
Step 69: Facebook Integration
-
Click the button to start configuration and follow the on-screen steps.
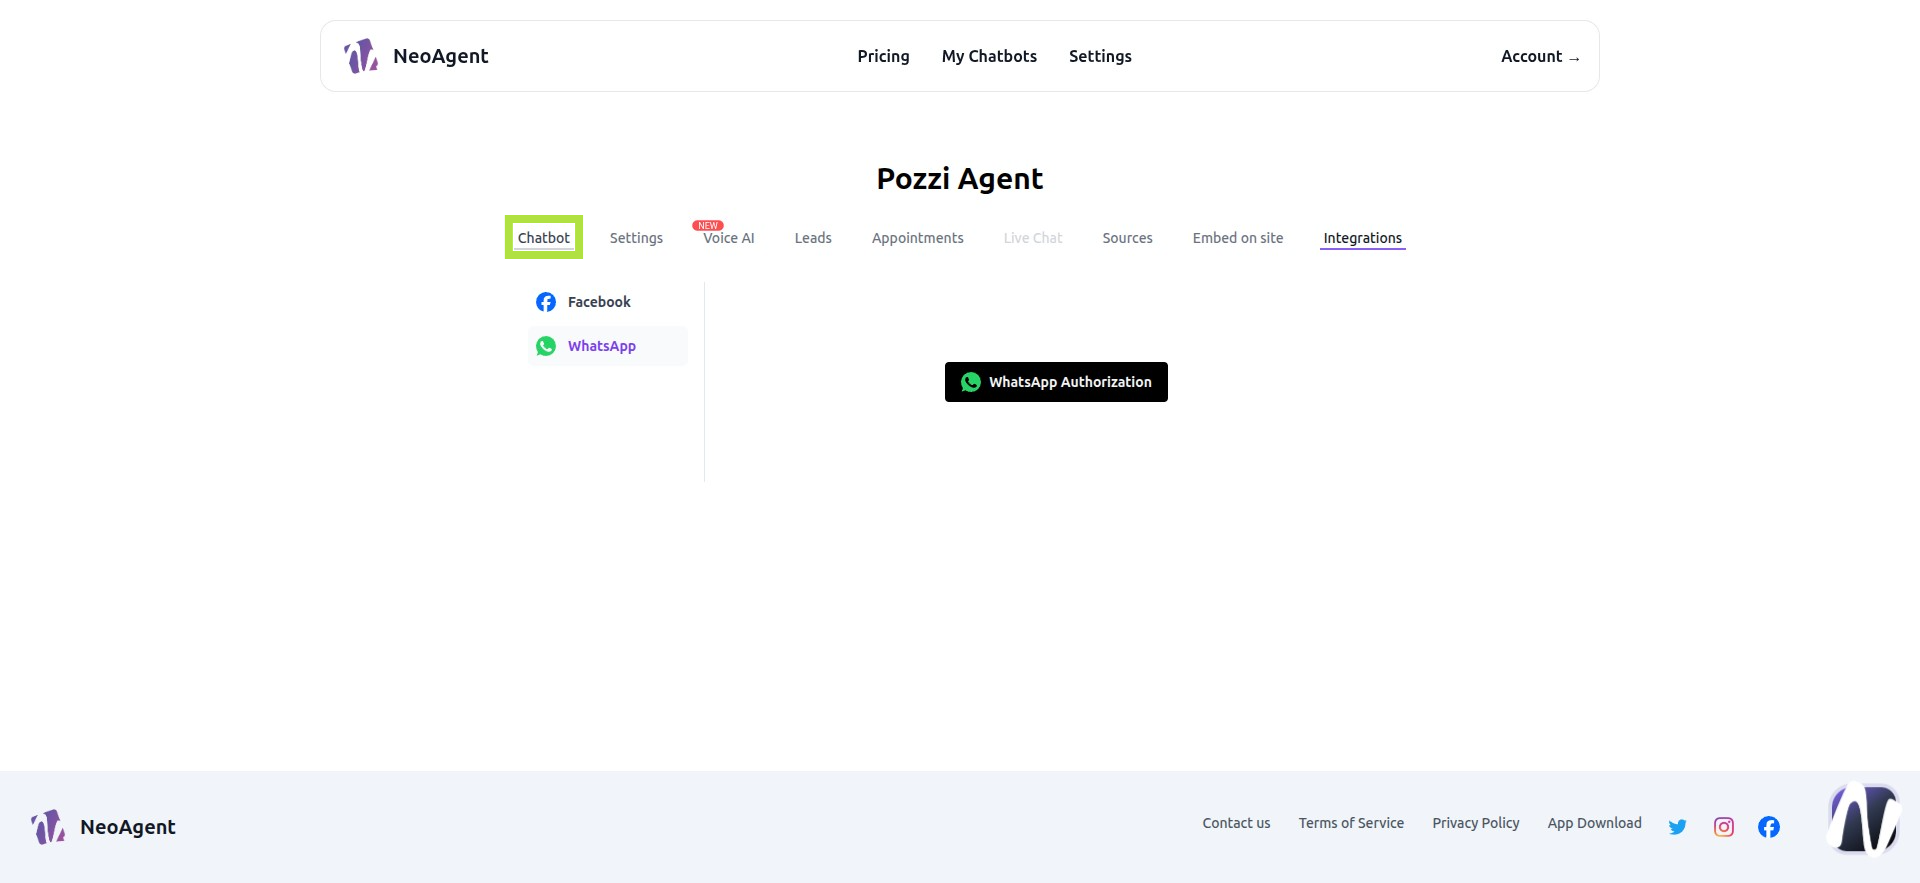
Step 70: WhatsApp Integration
-
You must have a Facebook account.
-
Your WhatsApp account must be unlinked from your smartphone, or you must use a dedicated number.
-
WhatsApp chats will be managed ONLY in Appointify's LiveChat [higher-tier plans]

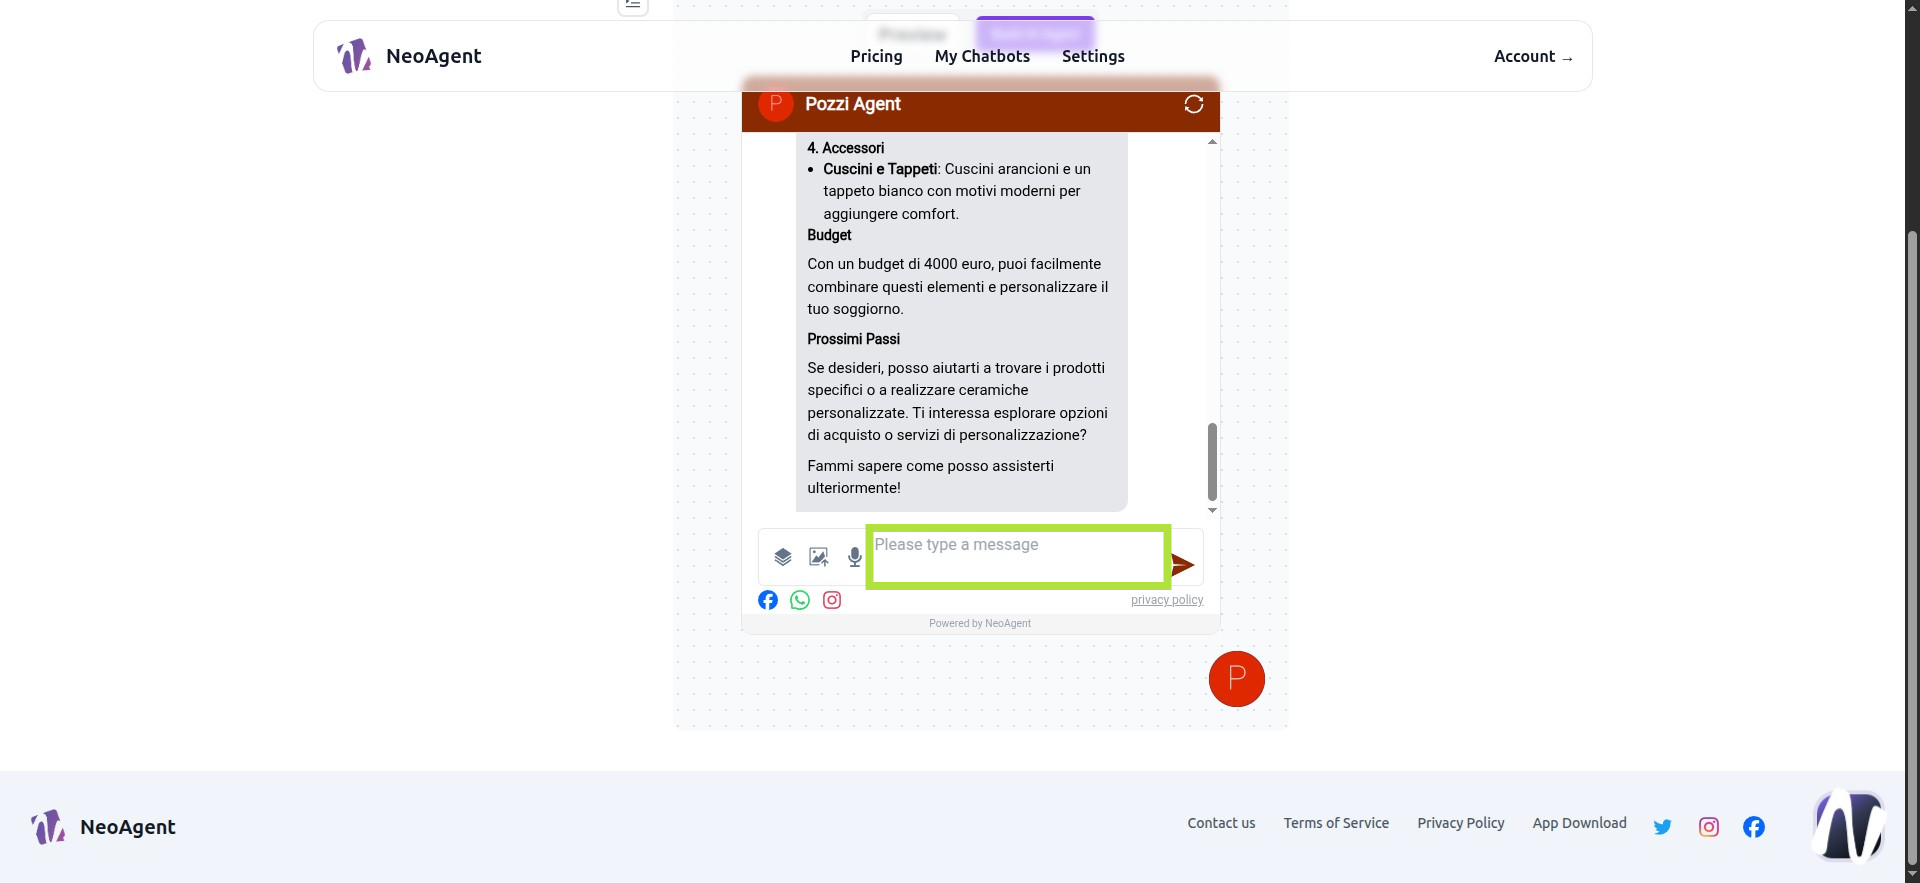
Step 71: Let’s test our agent
Return to Chatbot
Step 72: Use the default button
Step 73: Enter the preferences

Step 74: You have configured your first Neoagent!